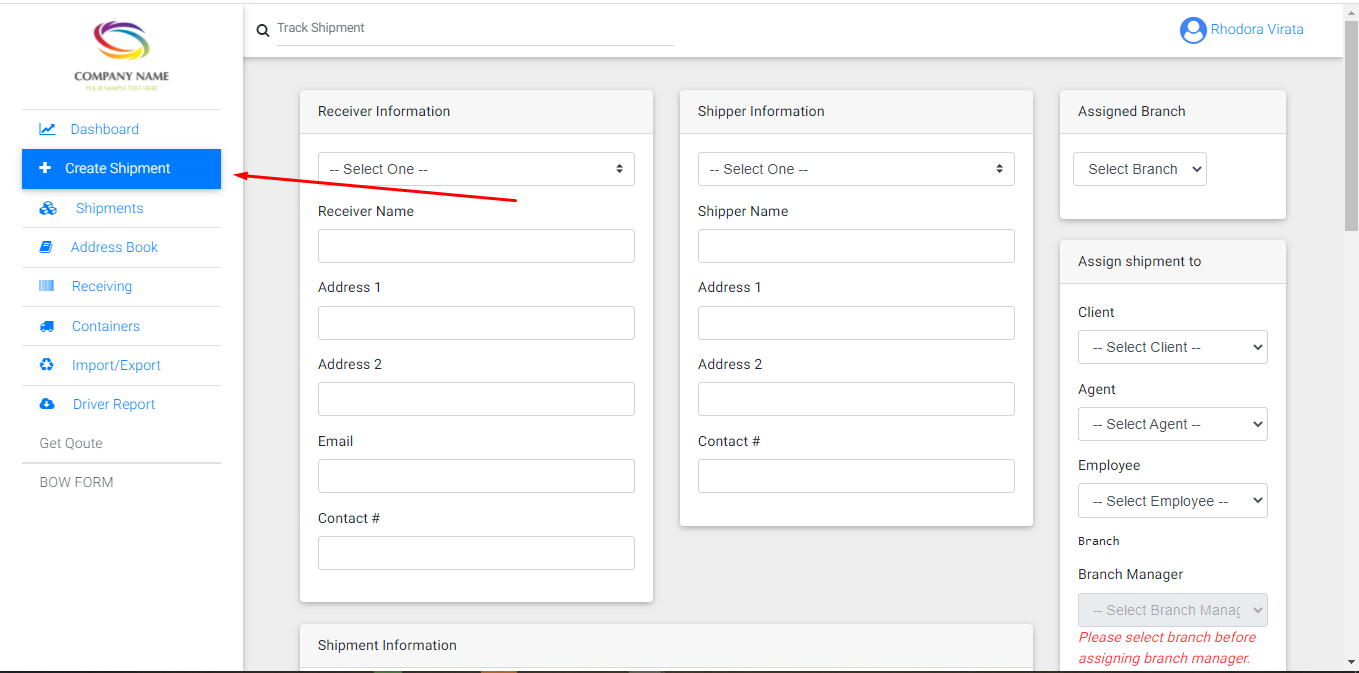
- Click “Create Shipments” from the sidebar menu.
-
- Date – default is current date.
- Time – default is current time. If “Enable User Timezone” setting is enabled, time will be based on the current time zone of the user updating the shipment.
- Current City – this is an update where the shipment is located. If an API key is entered on Map Settings, autocomplete address will appear.
- Select Status – status of the shipment. Status options is based on the status added on General Settings.
- Remarks – notes for the update.
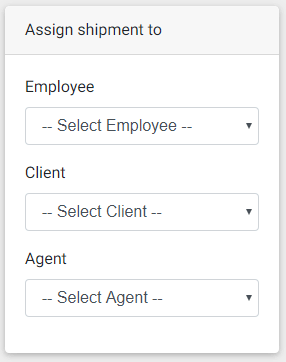
- Employee (only available for administrator)
- Client
- Agent
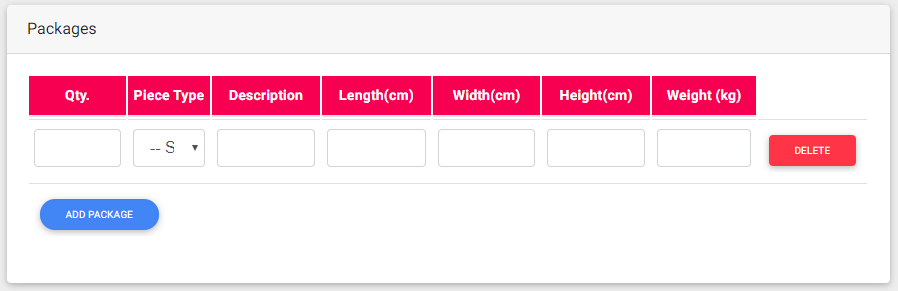
- Quantity – number of the package
- Piece Type – options from the piece type added on Piece Type Selection setting
- Description – description of the package
- Length – length of the package. Unit is based on what have been set on Dimension Unit setting.
- Width – width of the package. Unit is based on what have been set on Dimension Unit setting.
- Height – height of the package. Unit is based on what have been set on Dimension Unit setting.
- Weight – weight of the package. Unit is based on what have been set on Weight Unit setting.
- Add Package(button) – Another package information fields will be shown
-
- This shows the list of updates made on the shipmentTotal Volumetric Weight and Total Actual Weight – computation based on the data added on the table.
- Type of Shipment
- Weight
- Courier
- Packages
- Mode
- Product
- Quantity
- Payment Mode
- Total Freight
- Carrier
- Carrier Reference No.
- Departure Time
- Origin
- Destination
- Pickup Date
- Pickup Time
- Expected Delivery Date
- Comments
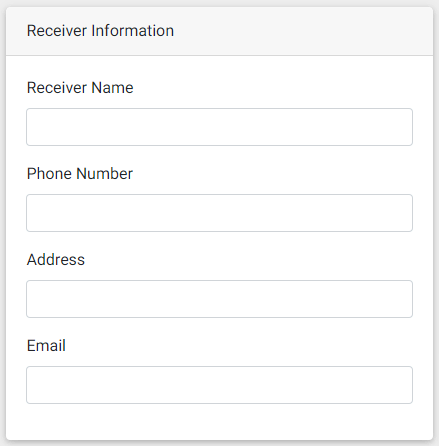
- Receiver Name(text) – Complete name of receiver
- Phone Number(text)
- Address(text)
- Email(email)
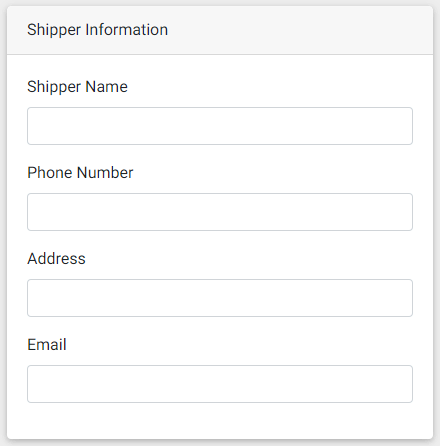
- Shipper Name(text) – Complete name of shipper
- Phone Number(text)
- Address(text)
- Email(email) – this will be used if email notification for client is enabledFill in fields for the shipment details.
Shipper Information
Receiver Information
Shipment Information

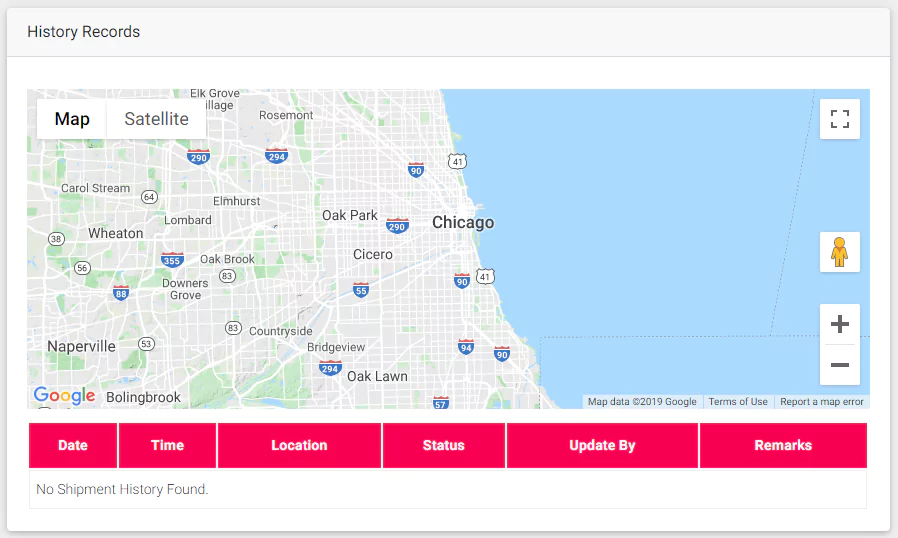
History Records
– This is only visible if “Enable Shipment History Map” under Map Settings is enabled.
Packages
– only visible when “Enable Multiple Package on Admin?” setting under Multiple Package Settings is enabled.
- This shows the list of updates made on the shipmentTotal Volumetric Weight and Total Actual Weight – computation based on the data added on the table.
Assign Shipment To
– Assign shipment to designated users. Only available for administrator and employee.
History
– This will update the shipment history table under Shipment History section.

- Click “Add Shipment” to save your new shipment.