This add-on requires the following plugins
- WPCargo Track and Trace
- WPTaskforce License Helper – comes with any products purchased
- WPCargo Custom Field Add-ons
- WPCargo Frontend Manager
- Woocommerce – only if Woocommerce integration is enabled.
Install and activate required plugins.
- Setup WPCargo Track and Trace plugin.
- Install and activate WPTaskforce License Helper.
- Setup WPCargo Custom Field Add-ons.
- Setup WPCargo Frontend Manager
- Install and activate Woocommerce
- Complete Woocommerce setup wizard – https://docs.woocommerce.com/document/woocommerce-setup-wizard/
- Generate Woocommerce pages – https://www.wpcargo.com/knowledgebase/how-to-generate-woocommerce-pages/
Install and activate WPCargo Parcel Quotation.
- Check the order confirmation email with the list of products purchased and download the WPCargo Parcel Quotation.
- Login to your wp-admin.
- Go to Dashboard > Plugins > Add New > Upload.
- Select the downloaded plugin.
- Install the plugin.
- Activate the plugin.
Activate WPCargo Parcel Quotation license key.
- To acquire your license key, please refer to the mode of payment you have used when product was purchased.
- Purchased through PayPal – an email will be sent to the email you have provided on the order details including the license key of the product.
- Purchased through Western Union – email the MTCN to info@wpcargo.com. When payment is received, an email will be sent with the order details including the license key of the product.
- Copy WPCargo Parcel Quotation’s license key.
- Go to Dashboard > WPCargo > WPTaskforce License Helper.
- Paste license key to WPCargo Parcel Quotation field and click the Activate button.
Package Settings
Go to Dashboard > WPCargo > Package Settings
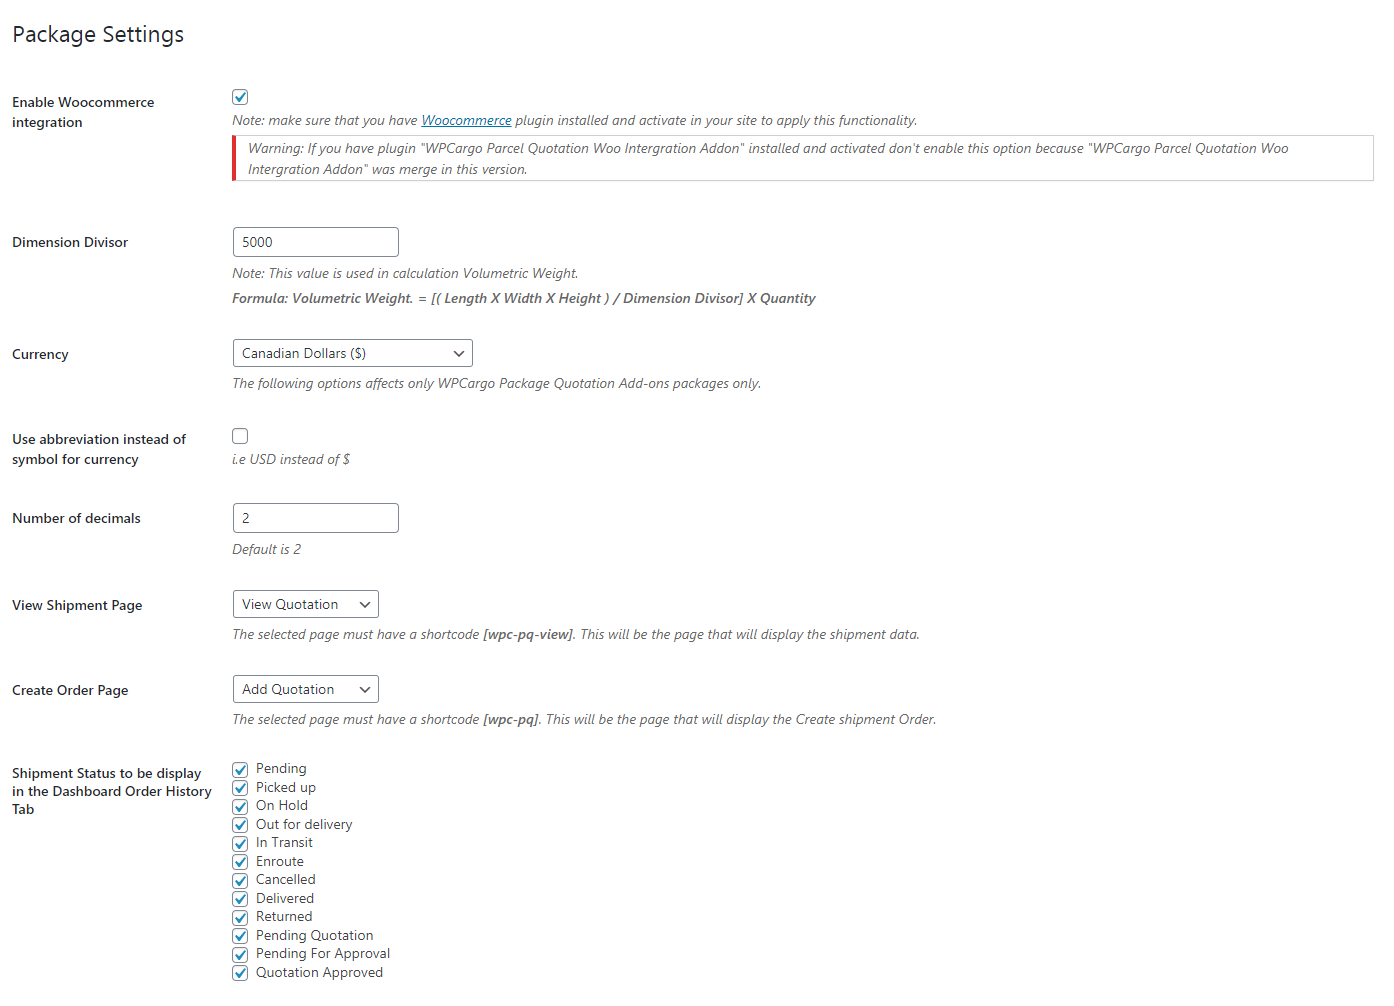
- Enable Woocommerce integration – if checked, this will allow the client to pay their shipment through Woocommerce. For more information regarding setup of Woocommerce integration, please check How to setup Woocommerce integration? guide.
- Dimension Divisor – this value will be used as divisor in getting Volumetric Weight.
- Currency – currency that will be used for payment details.
- Use abbreviation instead of symbol for currency – if checked, currency code will be used instead of currency symbol.
- Number of decimals – number of decimals points to be displayed on the prices.
- View Shipment Page – this is where the shortcode [wpc-pq-view] is addded. By default, the page is already set to “View Quotation” page.
- Create Order Page – this is where the shortcode [wpc-pq dashboardpageid=”dashboard-id”] is added. By default, the page is set to “Add Quotation”.
- Shipment Status to be display in the Dashboard Order History Tab – check status that will be displayed in the Order History Tab.