REQUIREMENTS:
- IONCUBE Version 10.3
- PHP 7.2
This add-on requires the following plugins
- WPCargo Track and Trace
- WPTaskforce License Helper – comes with any products purchased
- WPCargo Custom Field Add-ons
- WPCargo Frontend Manager
Install and activate required plugins.
- Setup WPCargo Track and Trace plugin.
- Install and activate WPTaskforce License Helper.
- Setup WPCargo Custom Field Add-ons.
- Setup WPCargo Frontend Manager
Install and activate WPCargo Proof of Delivery Add-ons.
- Check the order confirmation email with the list of products purchased and download the WPCargo Proof of Delivery Add-ons
- Login to your wp-admin.
- Go to Dashboard > Plugins > Add New > Upload.
- Select the downloaded plugin.
- Install the plugin.
- Activate the plugin.
Activate WPCargo Proof of Delivery Add-ons license key.
- To acquire your license key, please refer to the mode of payment you have used when product was purchased.
- Purchased through PayPal – an email will be sent to the email you have provided on the order details including the license key of the product.
- Purchased through Western Union – email the MTCN to info@wpcargo.com. When payment is received, an email will be sent with the order details including the license key of the product.
- Copy WPCargo Proof of Delivery Add-ons’ license key.
- Go to Dashboard > WPCargo > WPTaskforce License Helper.
- Paste license key to WPCargo Proof of Delivery Add-ons field and click the Activate button.

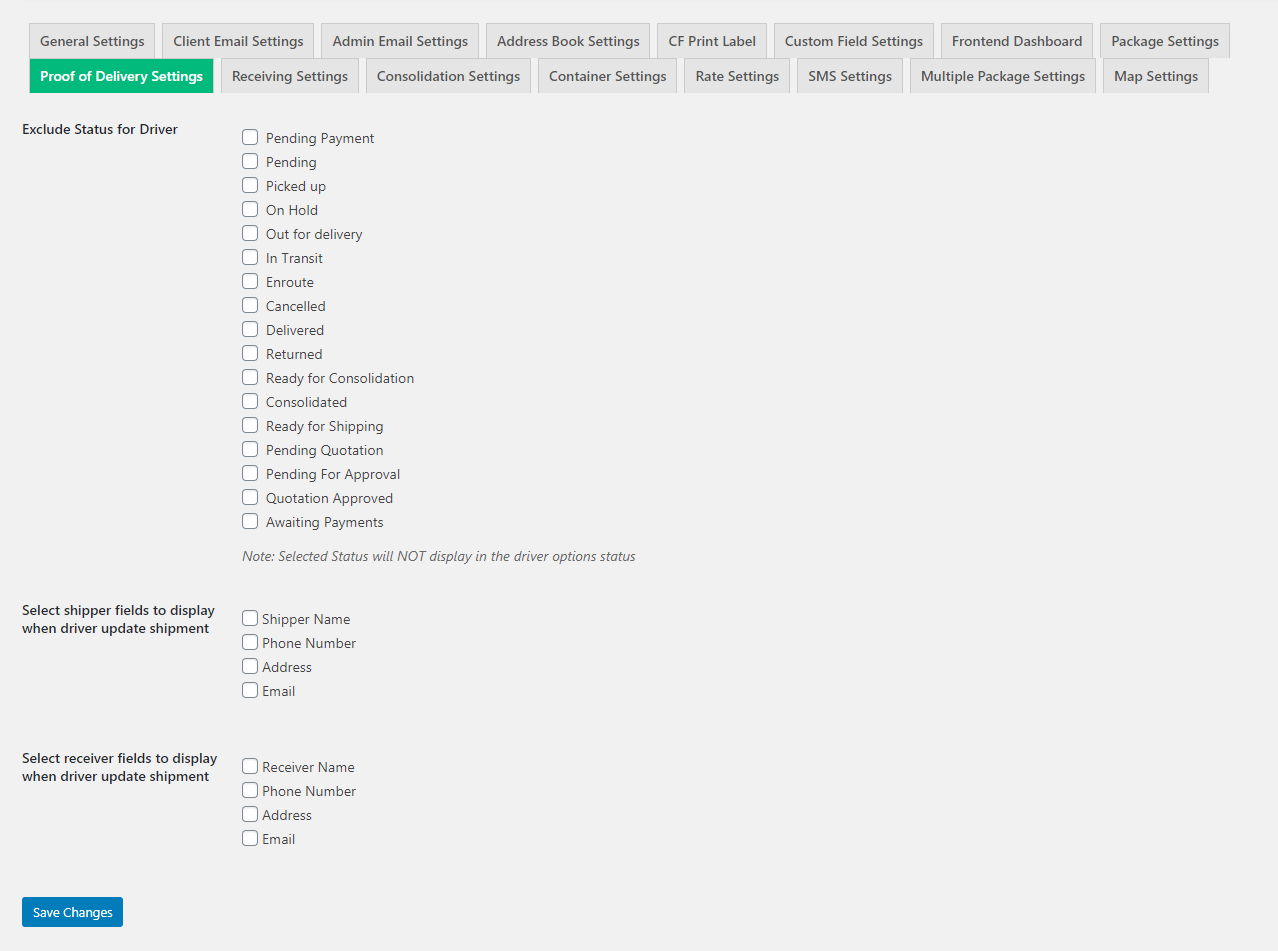
Proof of Delivery Settings
Go to Admin Dashboard > WPCargo > Proof of Delivery Settings
- Exclude Status for Driver – Choose from the list of status to exclude from the status selection of Driver user role.
- Select shipper fields to display when driver update shipment
- Select receiver fields to display when driver update shipment