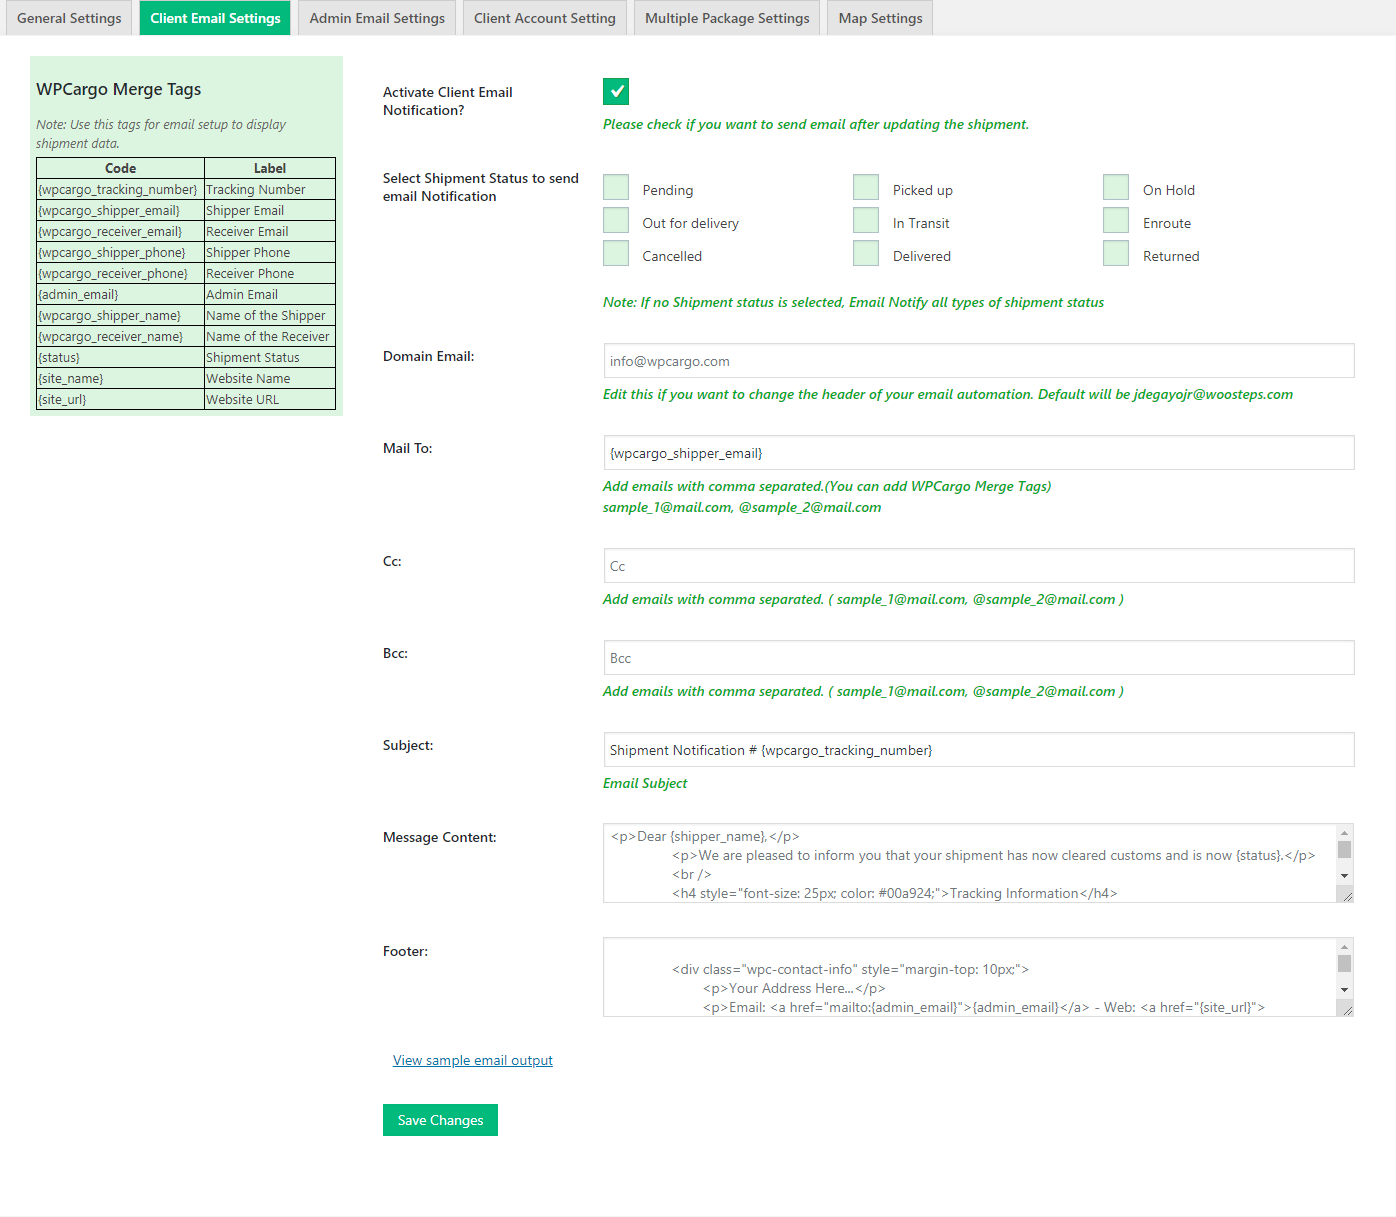
How to add custom meta tags in email content?
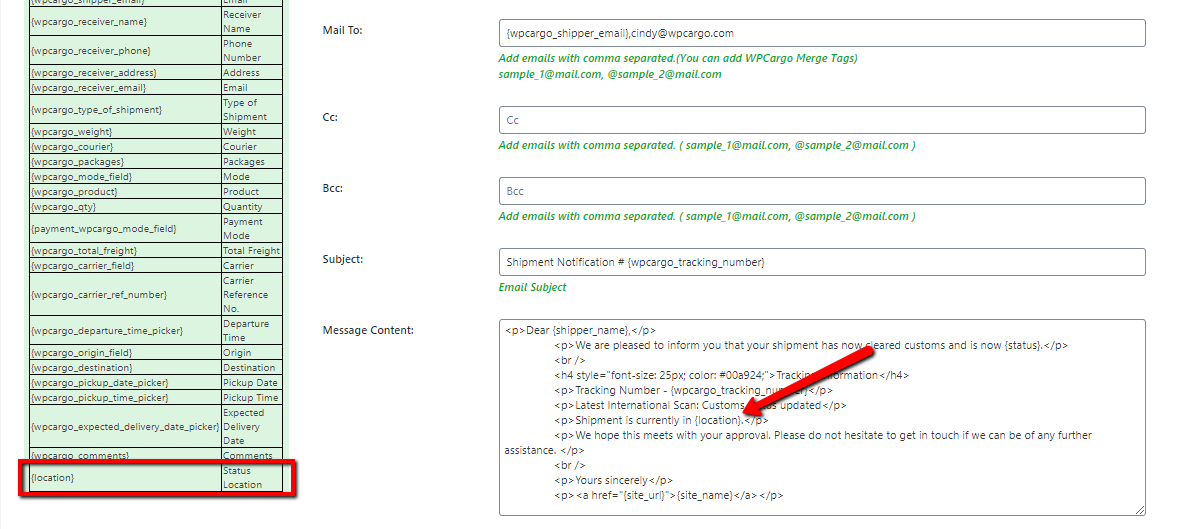
You can add custom meta tags (e.g. History Fields) in your email content. Use the post meta used for the field as the key of the meta tag. Below example is the location field from History fields. Copy and paste the following codes in your child theme’s functions.php file.
add_filter( 'wpc_email_meta_tags', 'custom_additional_email_meta_tags' );
function custom_additional_email_meta_tags( $tags ){
	$tags['{location}'] = 'Status Location';
	return $tags;
}
Message Content Sample HTML:
Dear {shipper_name},
We are pleased to inform you that your shipment has now cleared customs and is now {status}.</pre>
<h4 style="font-size: 25px; color: #00a924;">Tracking Information</h4>
<pre>Tracking Number - {wpcargo_tracking_number}
Latest International Scan: Customs status updated
We hope this meets with your approval. Please do not hesitate to get in touch if we can be of any further assistance.
Yours sincerely
<a href="{site_url}">{site_name}</a>
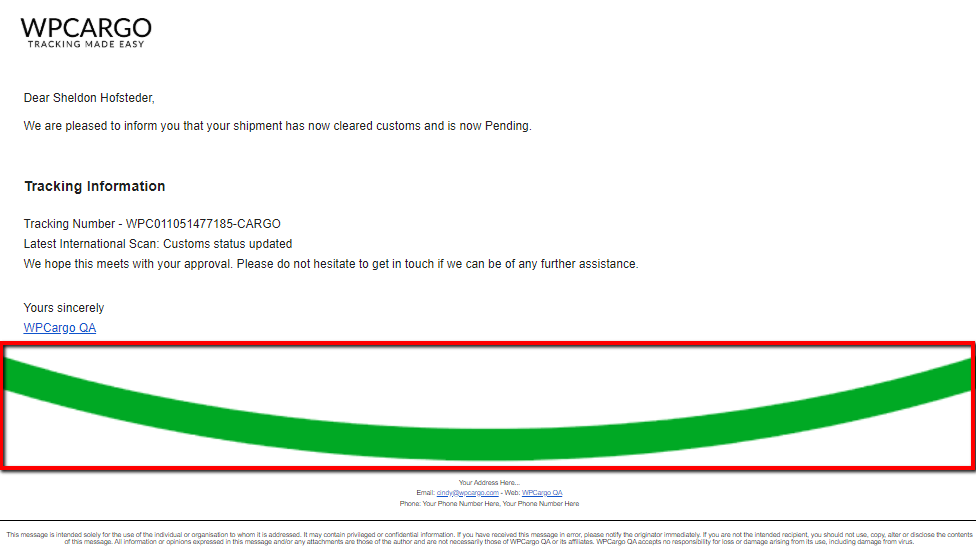
How to remove the footer divider ?
Sample Footer HTML :
</pre>
<div class="wpc-contact-info" style="margin-top: 10px;">Your Address Here... Email: <a href="mailto:{admin_email}">{admin_email}</a> - Web: <a href="{site_url}">{site_name}</a> Phone: <a href="tel:">Your Phone Number Here</a>, <a href="tel:">Your Phone Number Here</a></div>
<div class="wpc-contact-bottom" style="margin-top: 20px; padding: 5px; border-top: 1px solid #000;">This message is intended solely for the use of the individual or organisation to whom it is addressed. It may contain privileged or confidential information. If you have received this message in error, please notify the originator immediately. If you are not the intended recipient, you should not use, copy, alter or disclose the contents of this message. All information or opinions expressed in this message and/or any attachments are those of the author and are not necessarily those of {site_name} or its affiliates. {site_name} accepts no responsibility for loss or damage arising from its use, including damage from virus.</div>
<h3>
How to remove image divider or the green image divider.
You can add custom meta tags (e.g. History Fields) in your email content. Use the post meta used for the field as the key of the meta tag. Below example is the location field from History fields. Copy and paste the following codes in your child theme’s functions.php file.
add_action( 'plugins_loaded', 'remove_wpcargo_footer_image', 10 );
function remove_wpcargo_footer_image( $tags ){
	remove_action( 'wpcargo_email_footer_divider', 'wpcargo_email_footer_divider_callback' );
}