[vc_row][vc_column width=”1/4″][vc_widget_sidebar sidebar_id=”sidebar_3″][/vc_column][vc_column width=”3/4″][vc_column_text]
How to Use Import and Export Add-ons
This is the latest version of WPCargo Import and Export (3.0.8)
Please follow these steps on how to import and export shipments.
First we will export shipment.
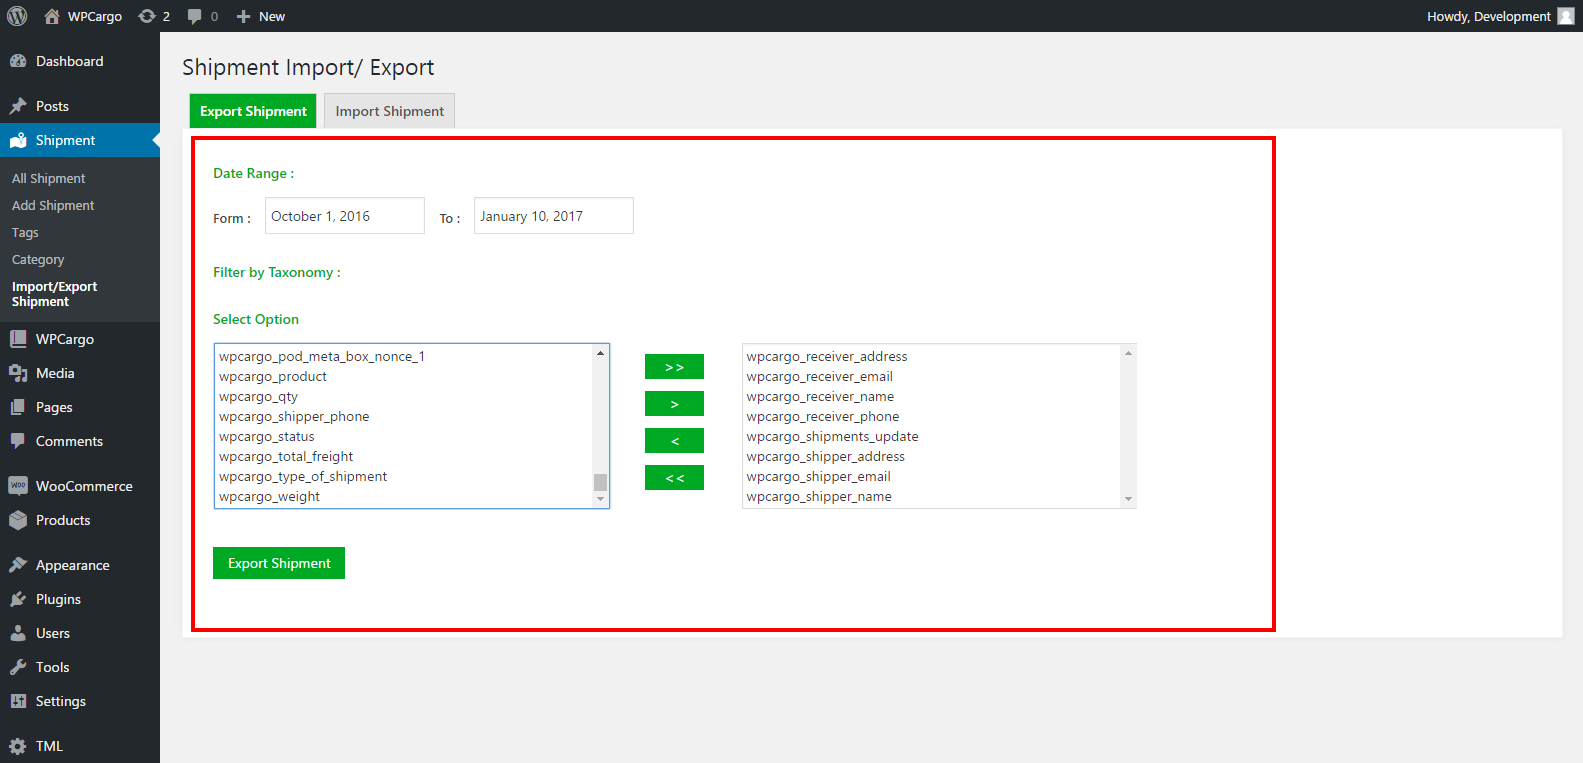
- Go to WPCargo>Import/Export Shipment and choose the fields that you want to export
Date Range – Range of date of shipment that you want to download
Filter by Taxonomy – Category/ by batch export
Select Options – the field that you want to export
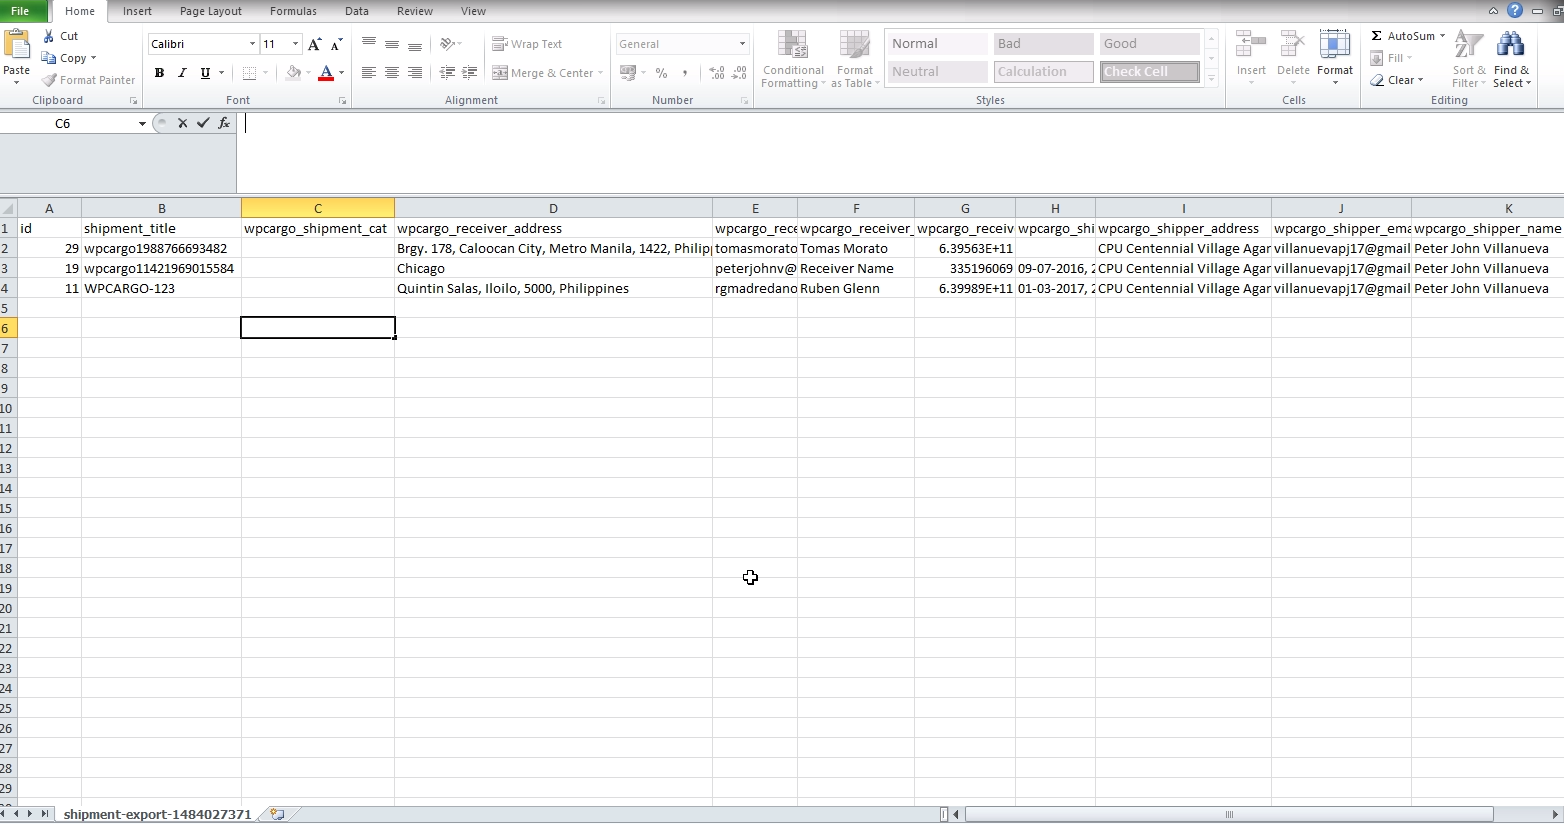
 After you select all the fields, click the Export Shipment button to download the excel file.Sample Shipment that is exported
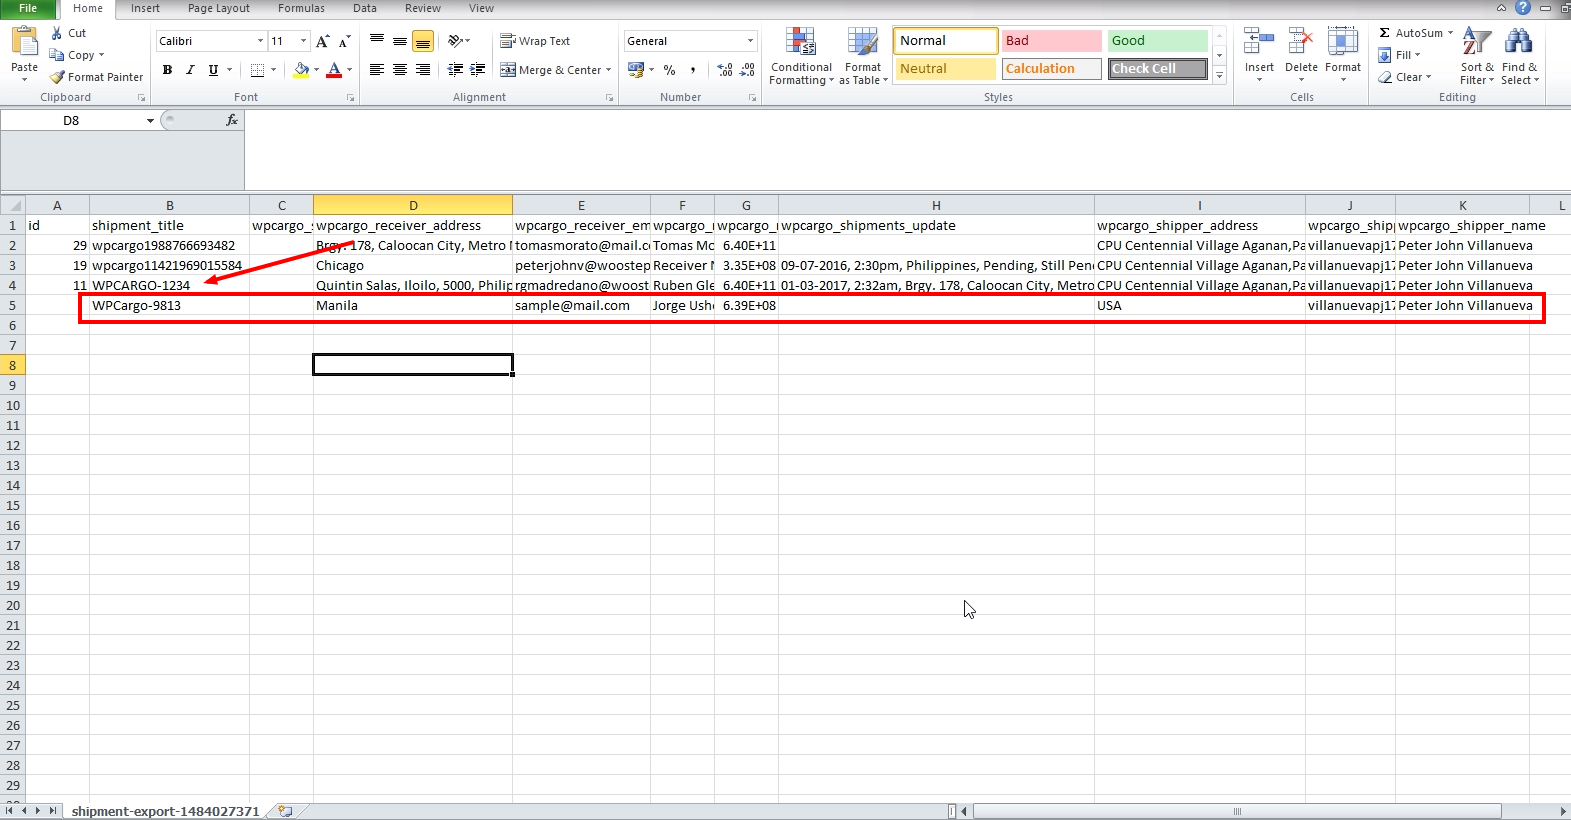
- Now we are ready to import shipments, we can add and also update shipments by importing.
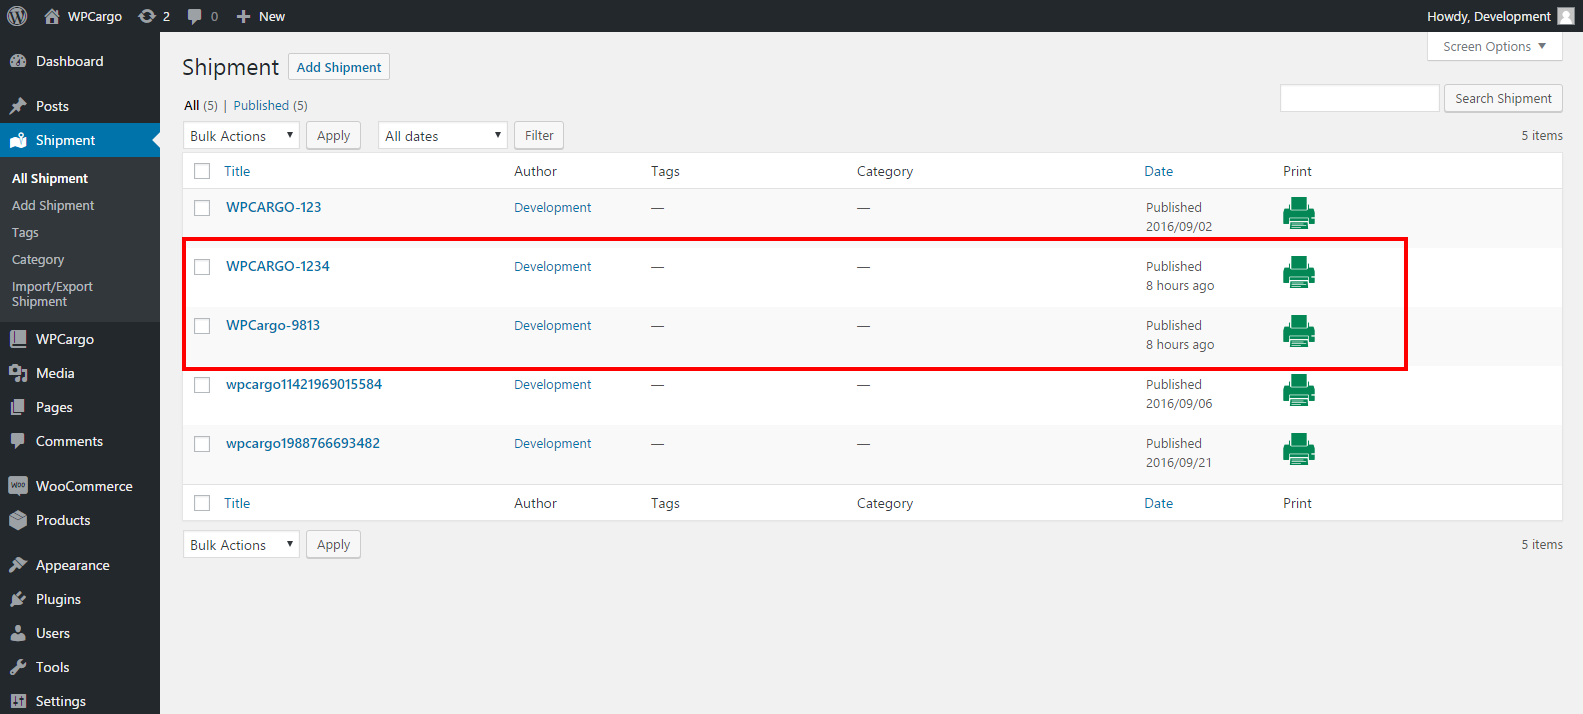
For Example We will the title of WPCargo-123 to WPCargo-1234 and add another shipment with the tracking number of WPCargo-9813. Please see the example shipments below that will need to be imported to WPCargo.Note that if you are adding a new shipment please make sure that you leave the id column blank
- We can now Import shipment, Go to WPCargo>Import/Export Shipment and click Import Shipment Tab upload your csv file
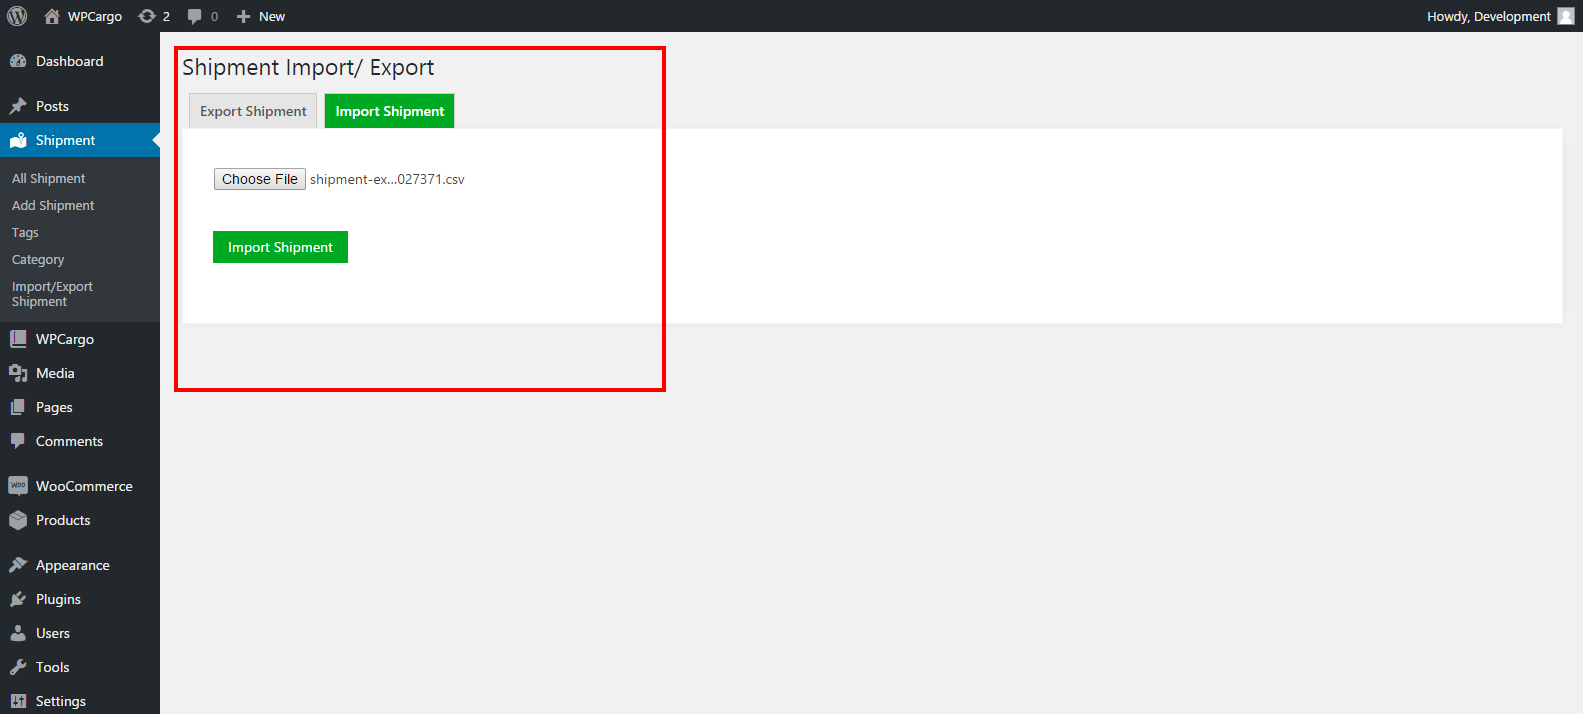
Click Import Shipment to import all the shipments - After it successfully imported view your lists of shipments.
[/vc_column_text][/vc_column][/vc_row]