How to Set up WPCargo

Please follow these steps on how to setup WPCargo.

  1. You need to login as admin on your WordPress Site.
  2. Install WPCargo on your plugins – https://wordpress.org/plugins/wpcargo/
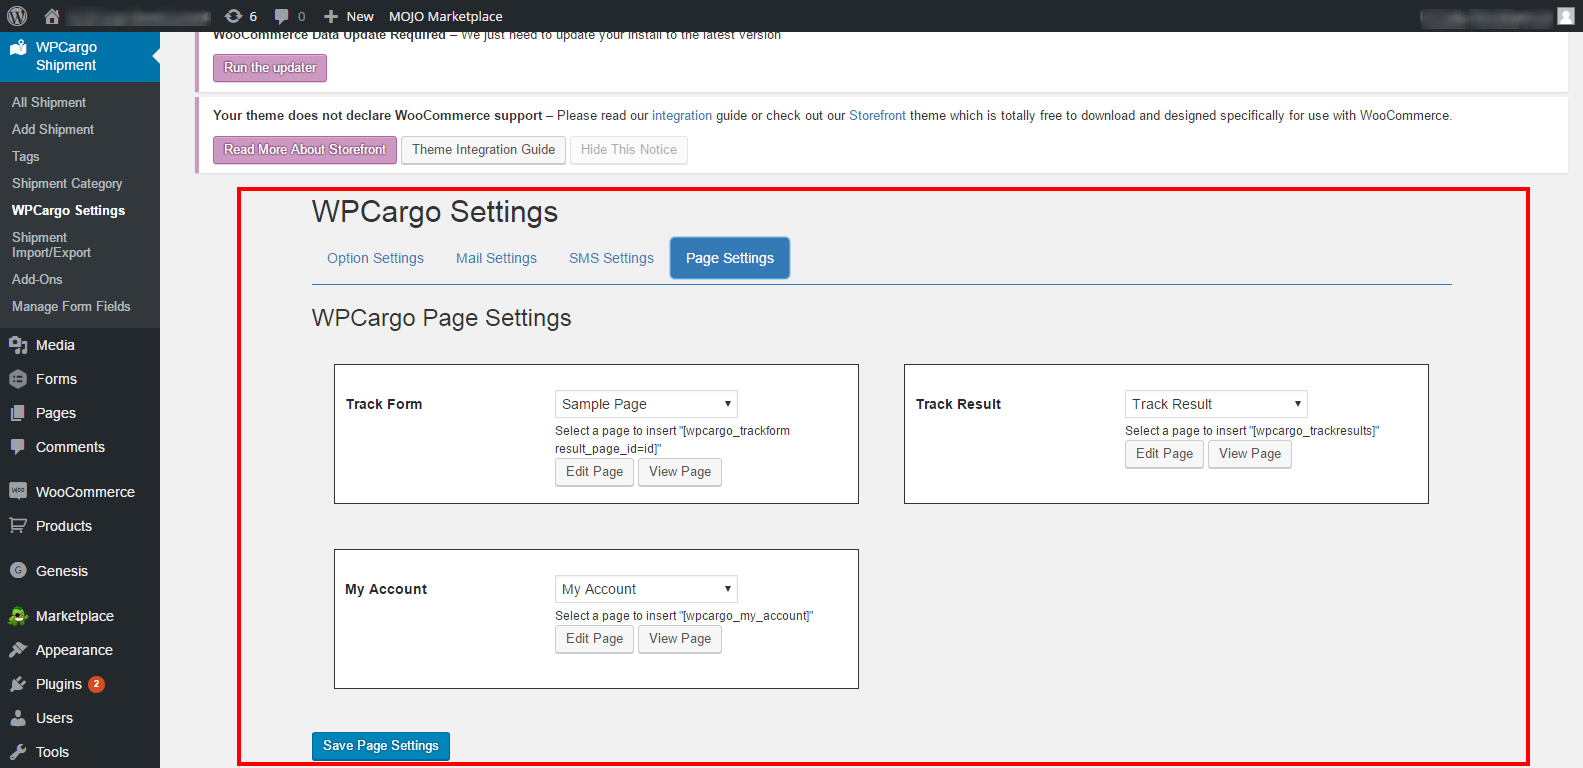
  3. After you install WPCargo, you can now setup the pages on your WPCargo Settings>Page Settings then choose the pages that you want to display the Tracking Form and Result Page.

    Settings ‹ WPCargo Development — WordPress

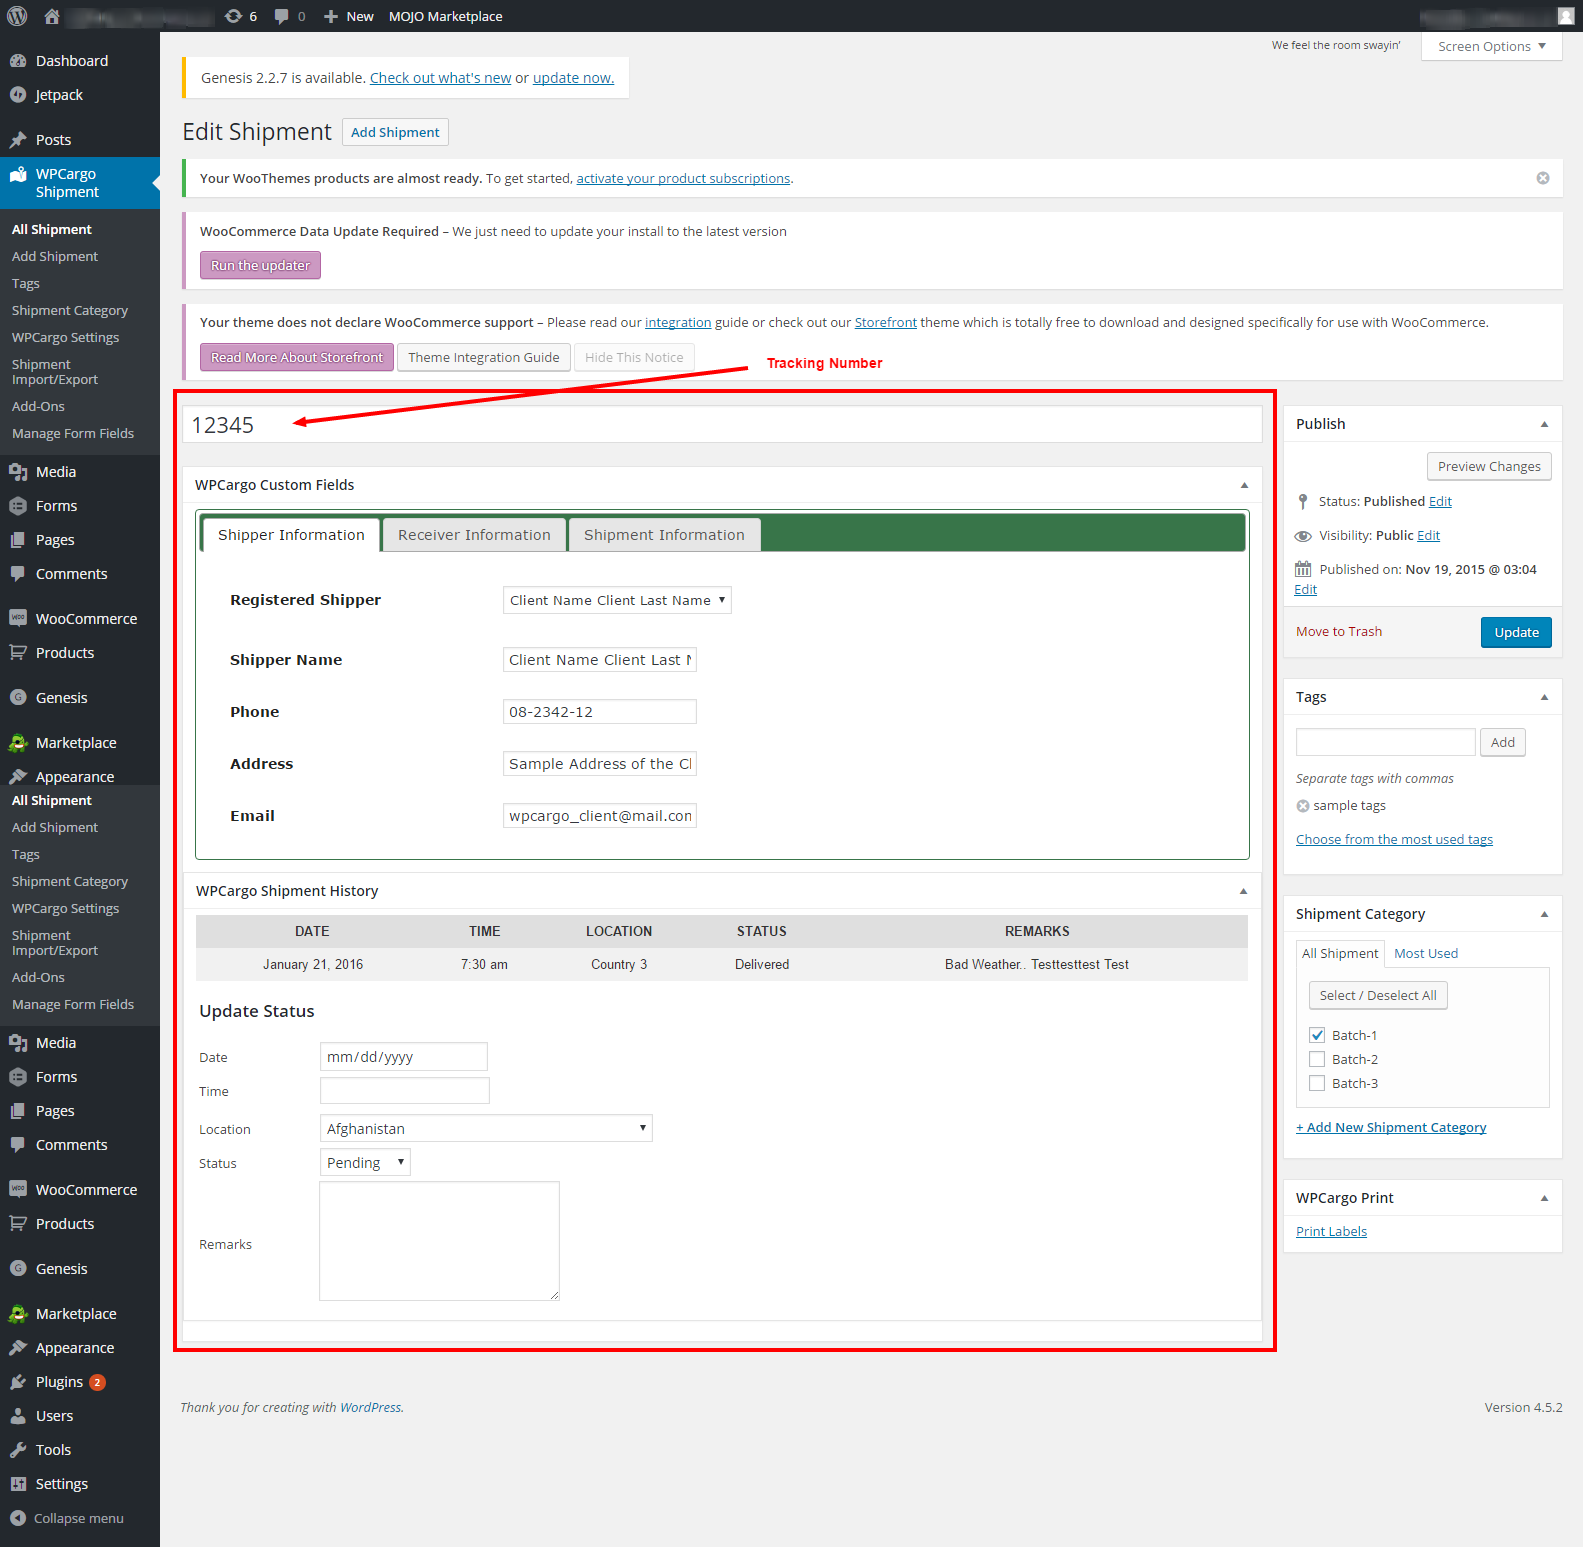
  4. We can now create a new Shipment, on WPCargo Shipment>Add Shipment.
  5. Fill up all the details that you want for the shipment after you fill up all the form click publish.

    Info Shipment

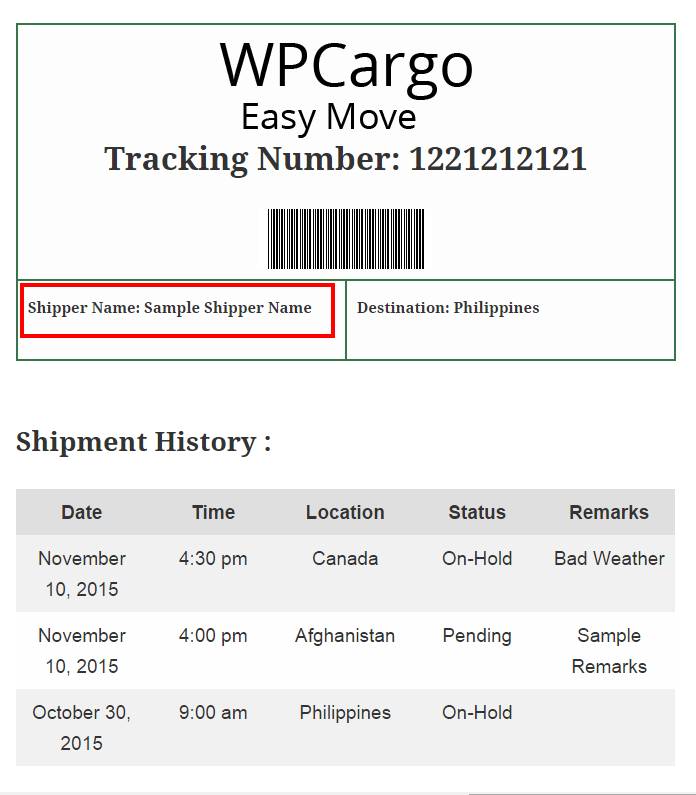
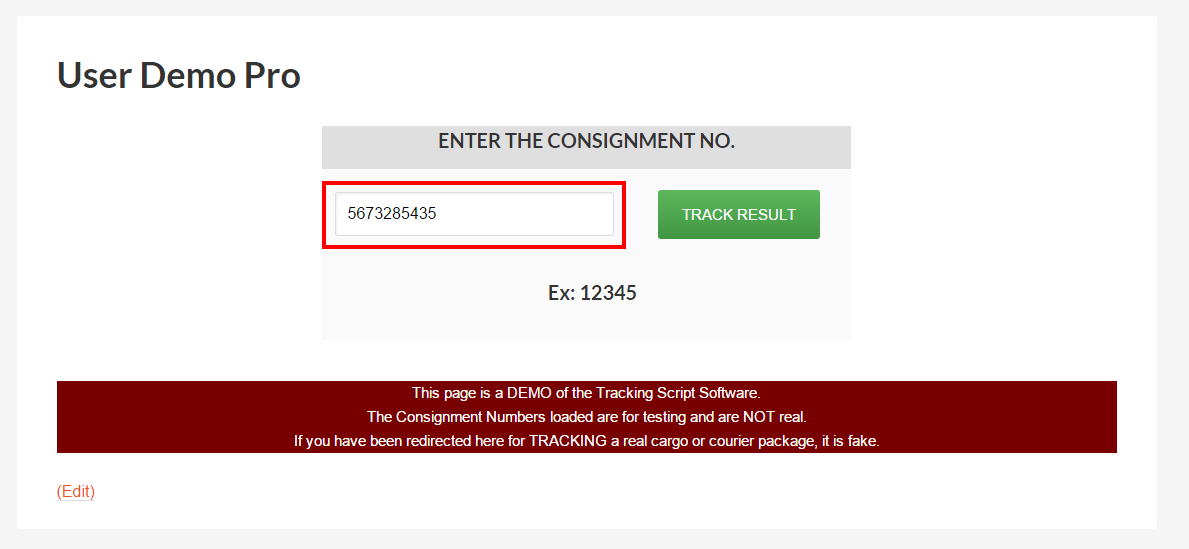
  6. We are now ready to view the shipment at the Front-end.
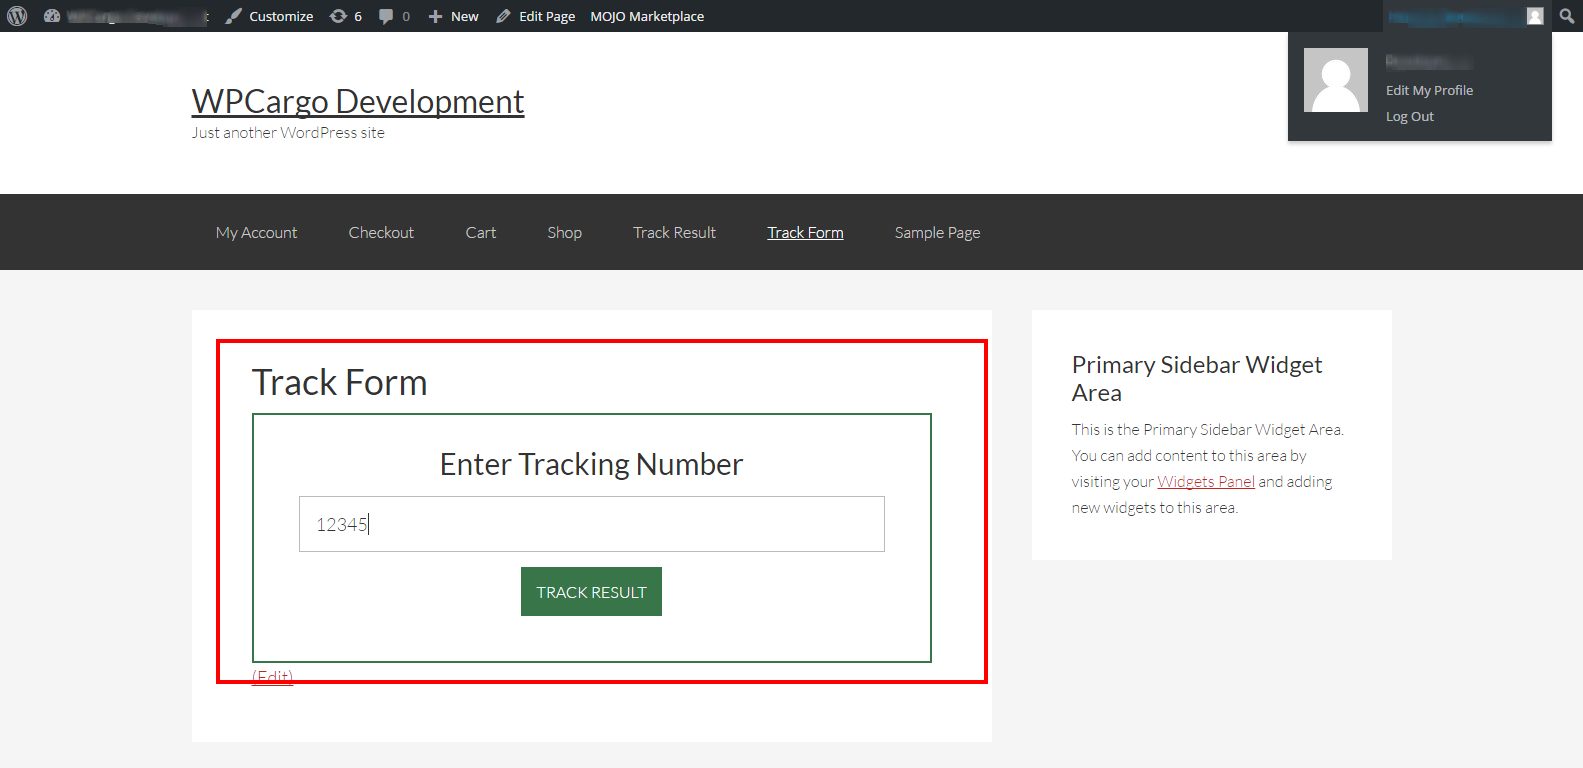
  7. Search for the tracking form page that you had setup on your Page Settings.
    Example: – http://wpcargo.com/complete-demo/

    Track Form Page
    Track Form

    Track Result Page
    Track Result

How to customized your own results?

Steps on how to customized your results

  1. Go to WPCargo Shipment->Manage Form Fields

manage-form-fields

2. Choose a Field that you want to add it on your search form and click edit

3. In Edit Form Field Page there’s an option for displaying results

– Do you want to display it on result page?

edit-form-res

4. When your done click UPDATE FIELD

5. Check your result Page

Result Page

How to remove the Demo Notice

  1. Go to your admin dashboard WPCargo Shipment->WPCargo Settings

Uncheck Demo Notice


2. Unchecked the Field “Display Demo Notice?”

3. Click “Save Option Settings”

How to search a cargo?

1. Search using the Consignment Number

search

2. It will display the details and status of your cargo

Track Result