[vc_row][vc_column width=”1/3″][vc_widget_sidebar sidebar_id=”sidebar_3″][/vc_column][vc_column width=”2/3″][vc_column_text]
How to use WPCargo Parcel Quotation Add-ons shortcodes
WPCargo Parcel Quotation Add-ons has 6 available shortcodes
- [wpc-pq-dashboard orderpageid=”pageID” viewpageid=”pageID” updatepageid=”pageID”]
- [wpc-pq dashboardpageid=”pageID”]
- [wpc-pq-view]
- [wpc-pq-update]
- [wpc-pq-activate]
- [wpc-pq-book-address]
Shortcodes
[wpc-pq-dashboard orderpageid=”pageID” viewpageid=”pageID” updatepageid=”pageID”]
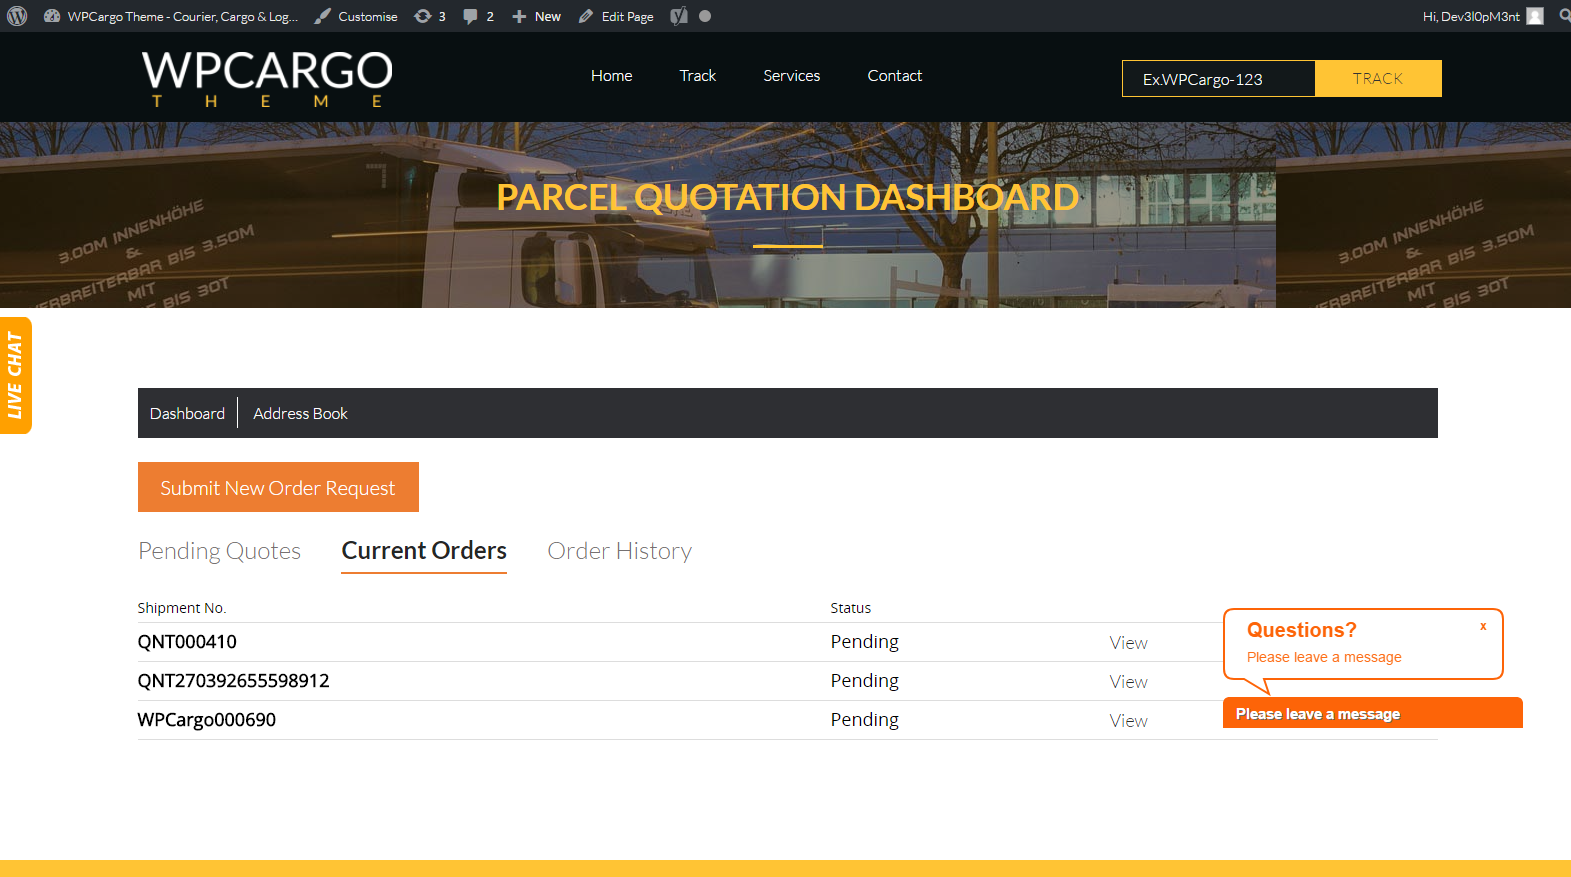
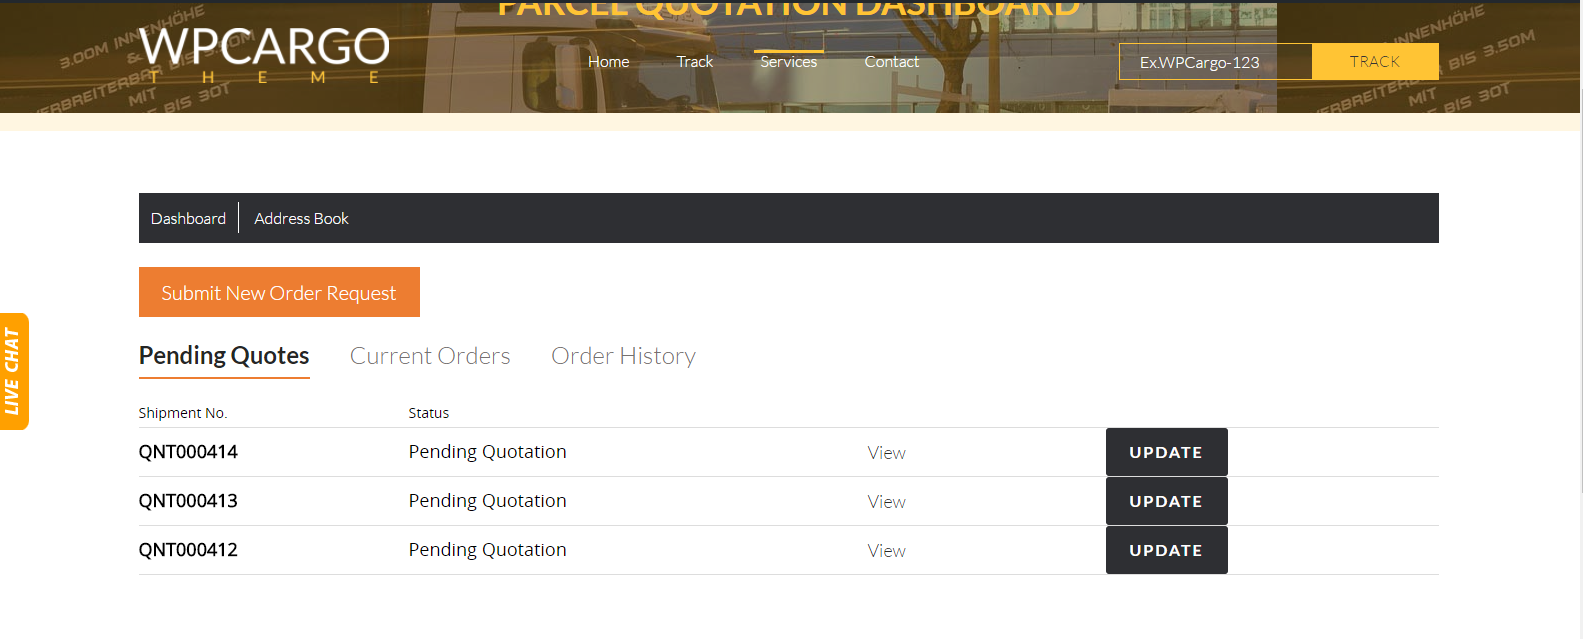
This plugin shortcode is the dashboard has 3 parameters and accept only with a page ID, this shortcode consider as the plugin main shortcode where the user can view his/her create shipment including the Shipment for Quotation, Current Orders and Order History.
Parameters
orderpageid parameter – Accepts page ID, the purpose of this parameter is for the “Submit New Order Request” button redirection
viewpageid parameter – Accepts page ID,the purpose of this parameter if for the “View” link redirection under the shipment list.
updatepageid – Accepts page ID,the purpose of this parameter if for the “Update” link redirection under the shipment list.
Note: the “Update” link will only display in the shipment table list if the current user logged in role is “WPCargo Agent”.
Tabs
Pending Quotes Tab – Display all the current user logged in shipment that are under pending for quotation, The user has ability to view and cancel his/her shipment and print.
Current Orders Tab – Display all the current user logged in shipment with shipment status that are not selected in the package setting “Shipment Status to be display in the Dashboard Order History Tab“. In this tab the user can view his/her shipment and print.
Order History Tab – Display all the current user logged in shipment with shipment status that is selected in the package setting “Shipment Status to be display in the Dashboard Order History Tab“. In this tab the user can view his/her shipment and print.
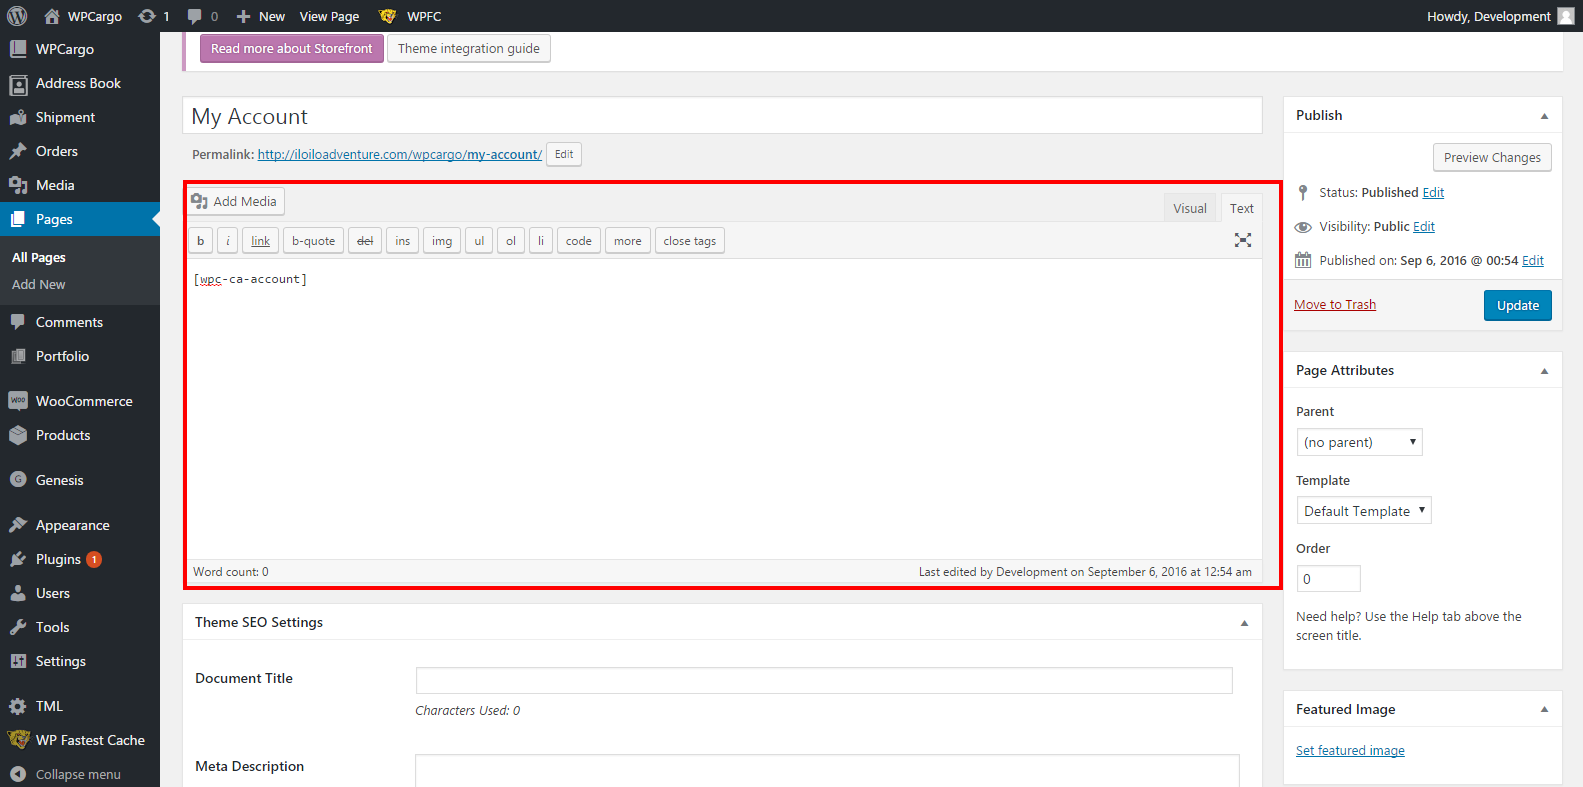
[wpc-pq dashboardpageid=”pageID”]
This plugin shortcode is use for submitting shipment in the site frontend under the user role WPCargo Client role. copy the page ID where this shortcode is used and add it to the wpc-pq-dashboard shortcode under the orderpageid parameter.
This plugin has one parameter dashboardpageid which accept page ID, the purpose of this parameter is to redirect the user to the plugin dashboard page after the shipment order is submitted.
Note: This shortcode is accessible only for the logged in users.

[wpc-pq-view]
This plugin shortcode is use for the shipment viewing. copy the page ID where this shortcode is used and add it to the wpc-pq-dashboard shortcode under the viewpageid parameter.
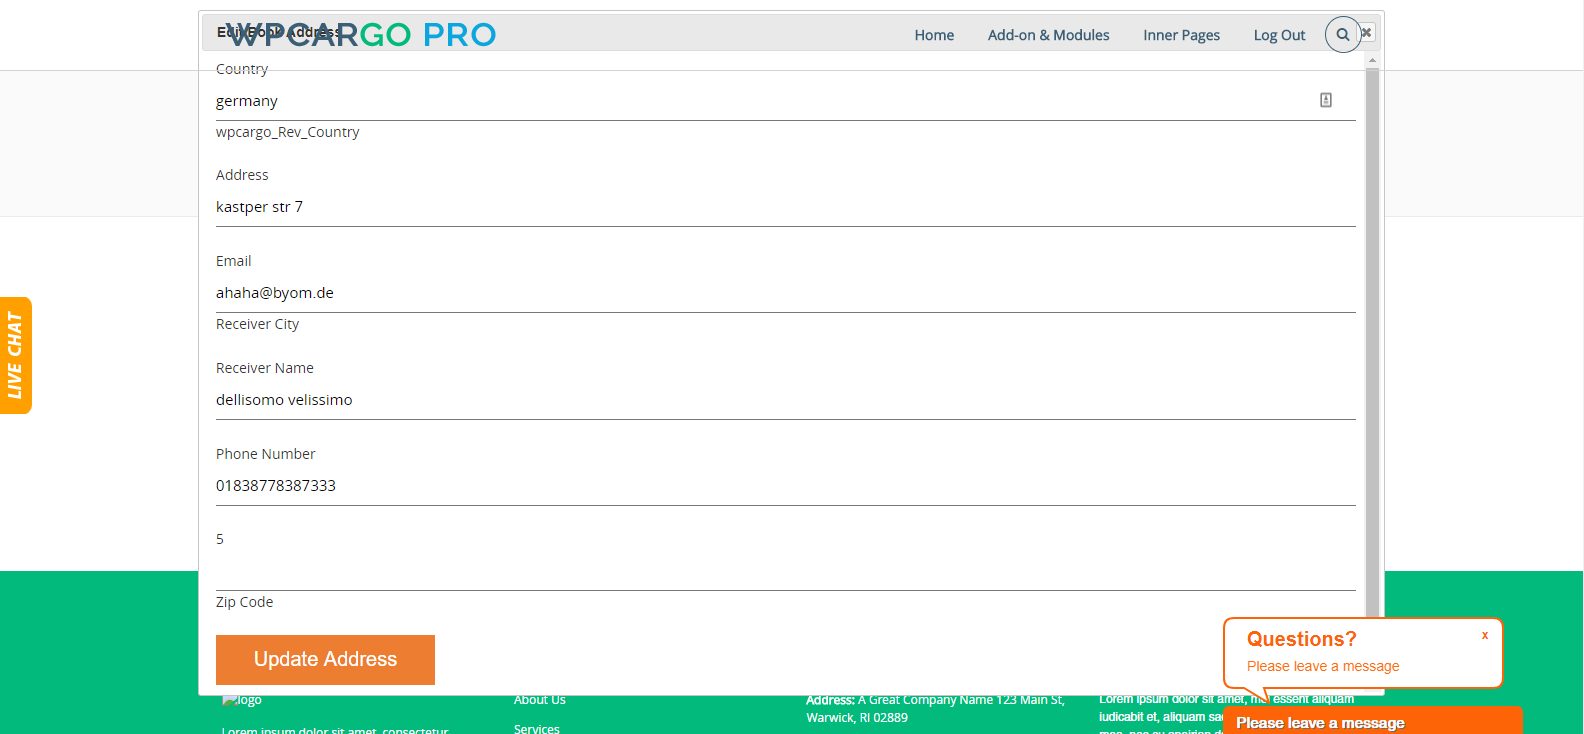
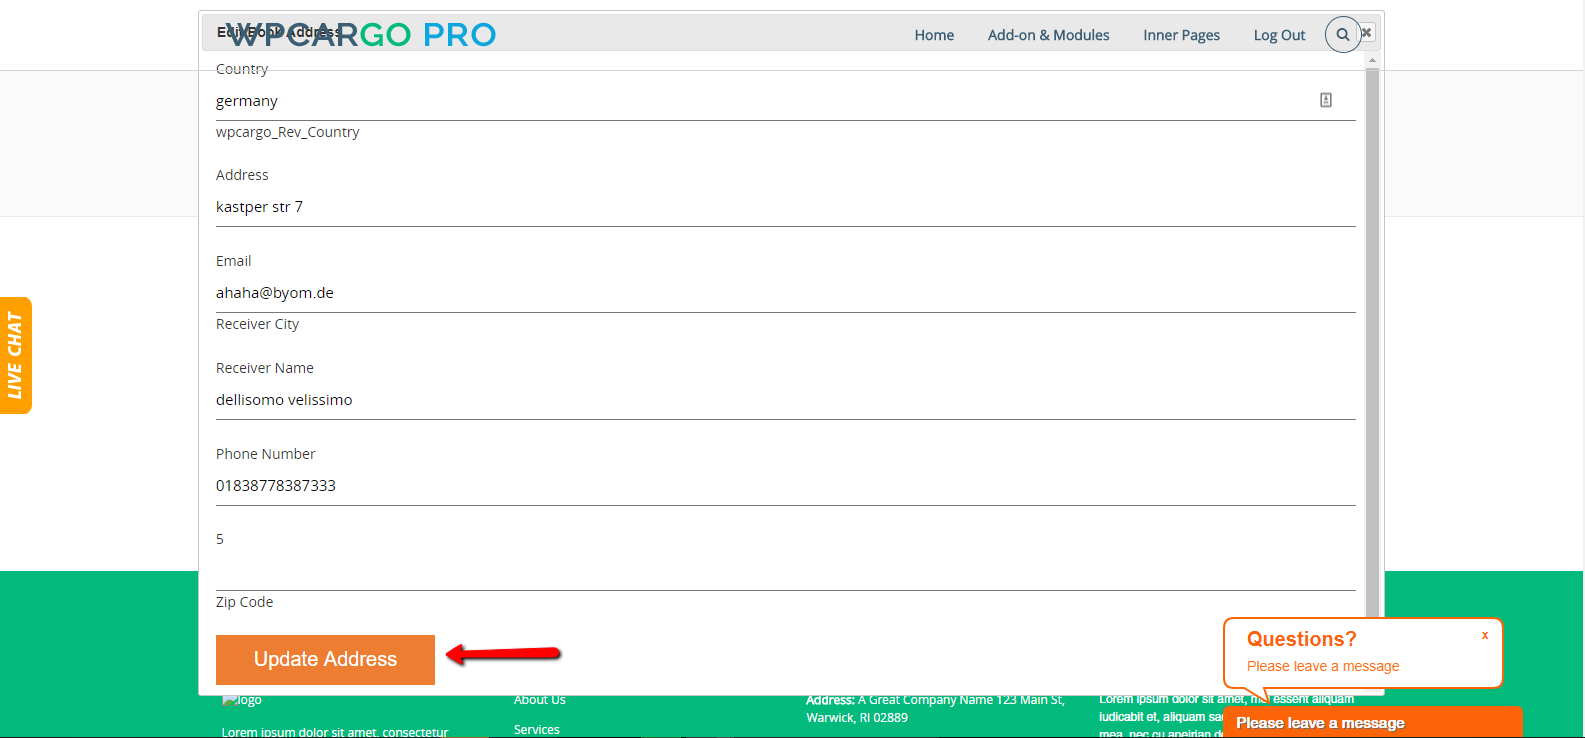
[wpc-pq-update]
This plugin shortcode is use to update shipment. copy the page ID where this shortcode is used and add it to the wpc-pq-dashboard shortcode under the updatepageid parameter.
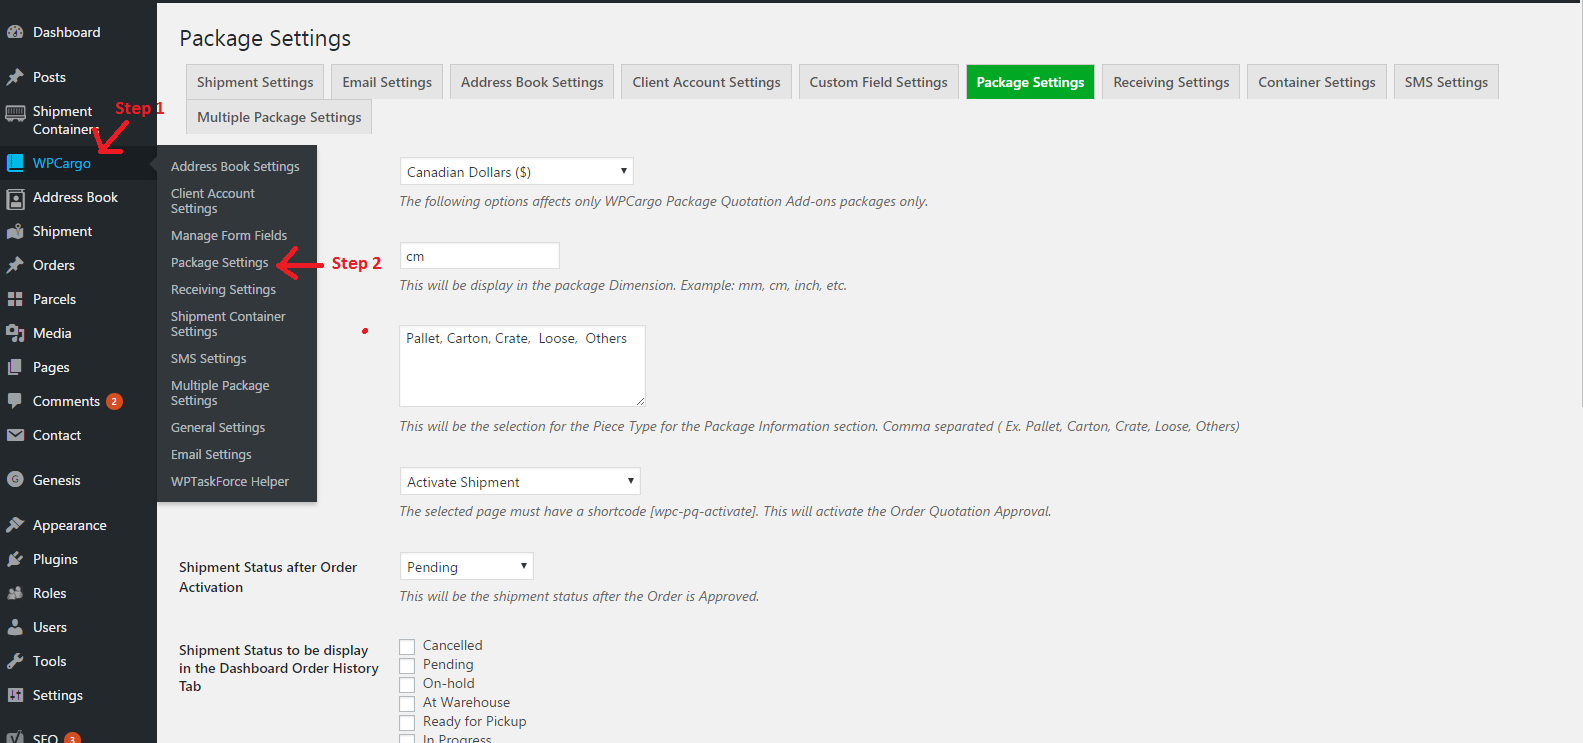
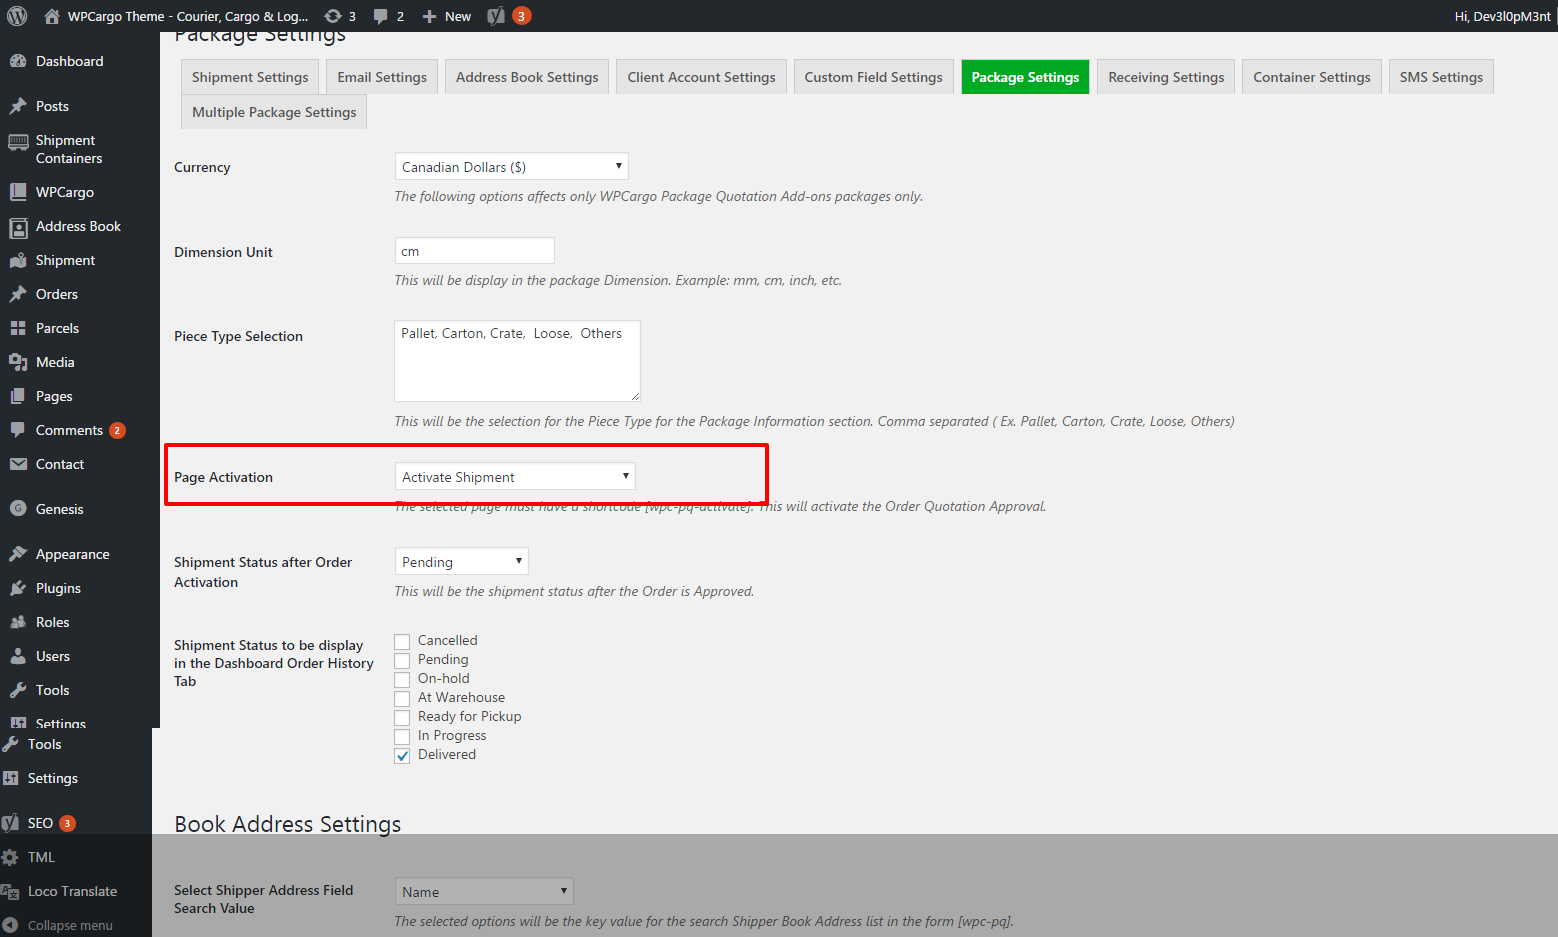
[wpc-pq-activate]
This plugin shortcode is use to activate shipment. Add this shortcode to the page where the Package settings “Page Activation” page selected.
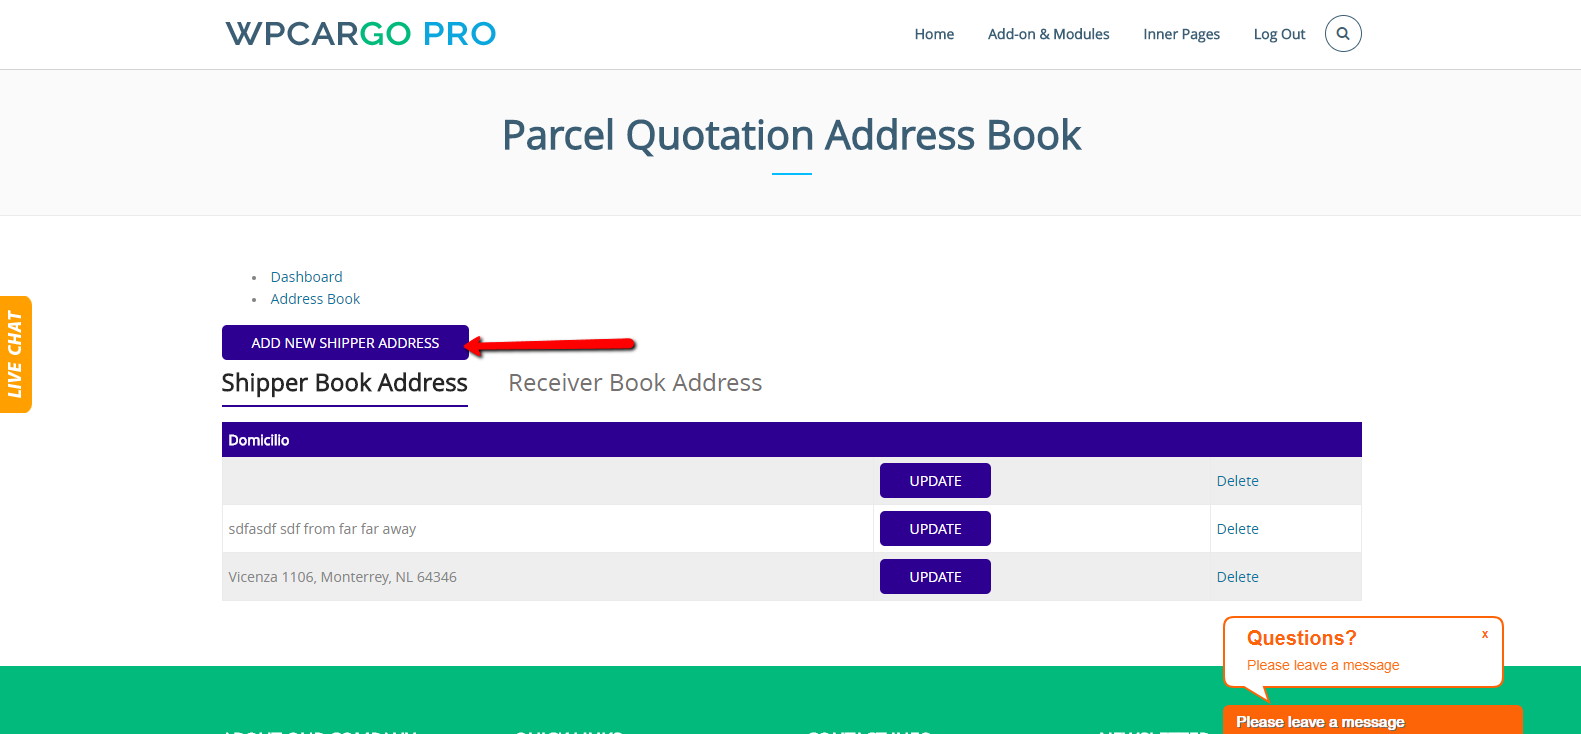
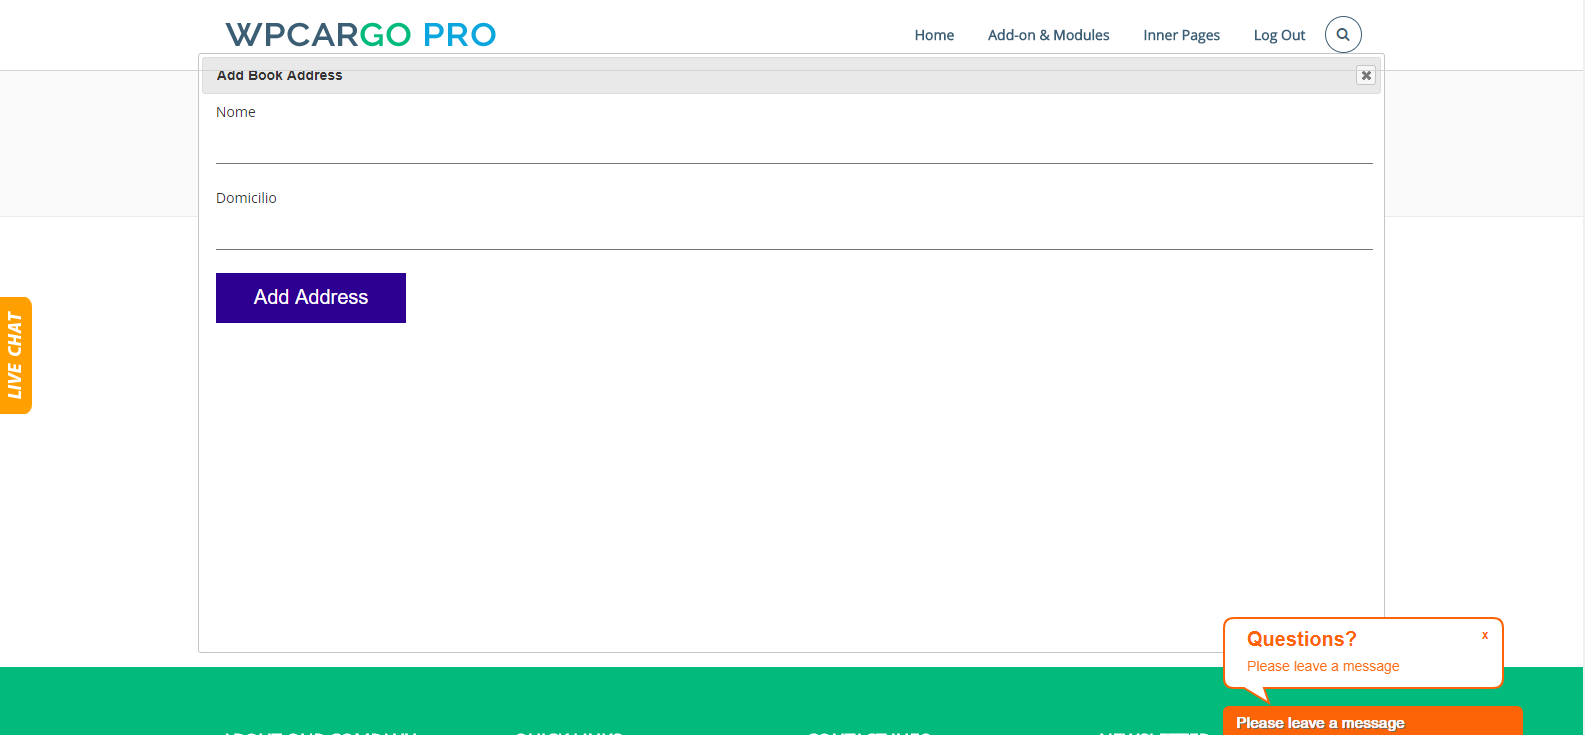
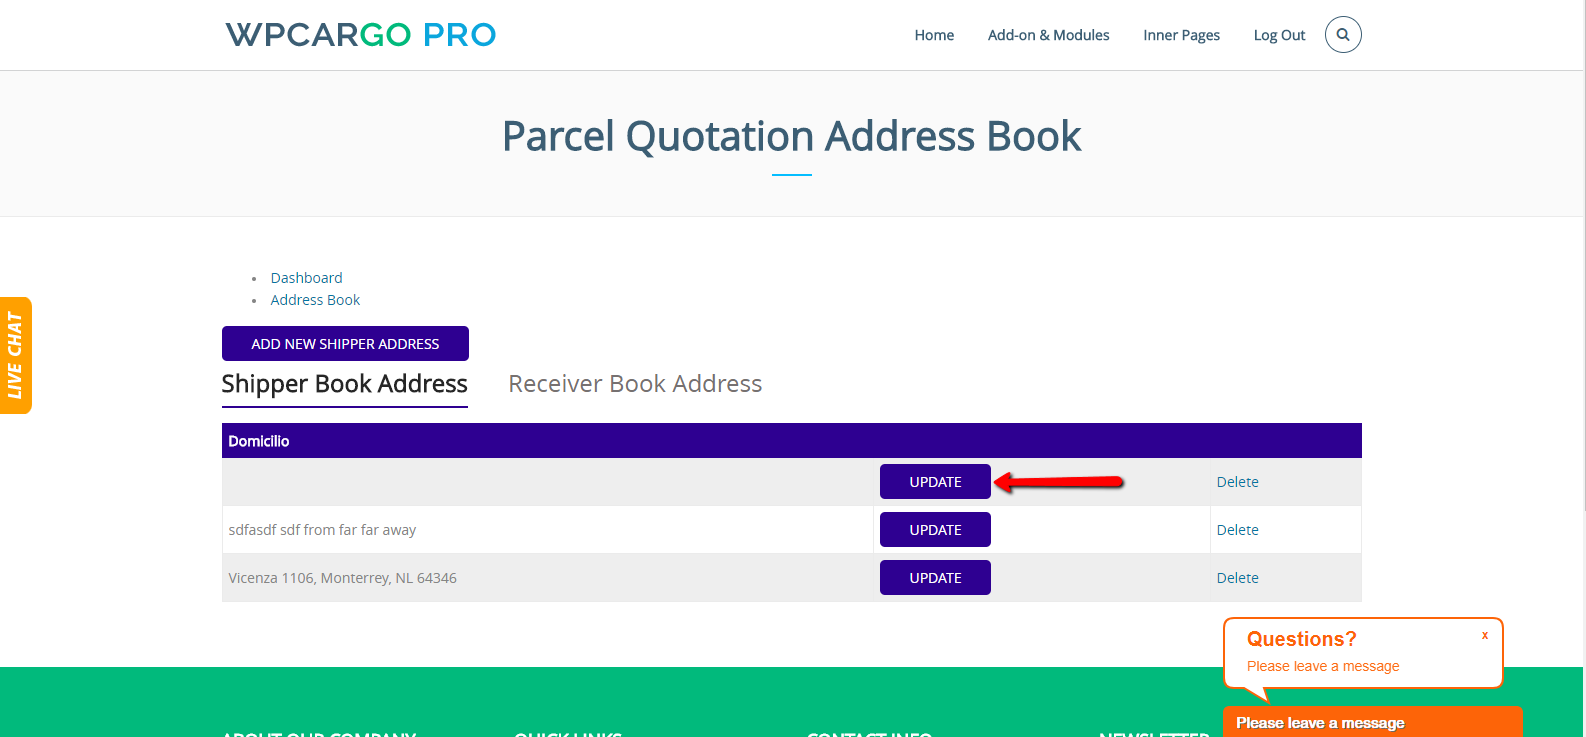
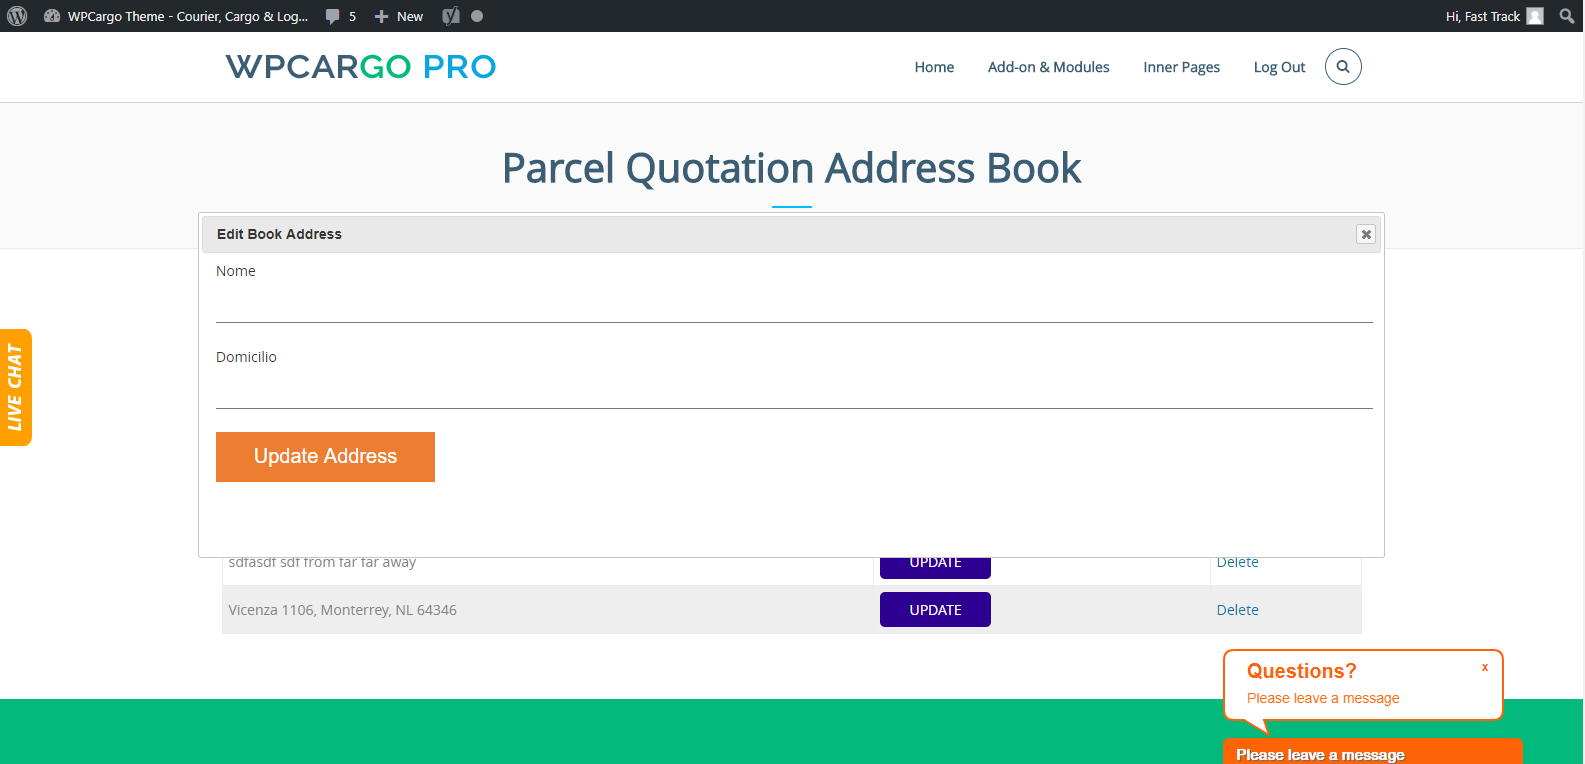
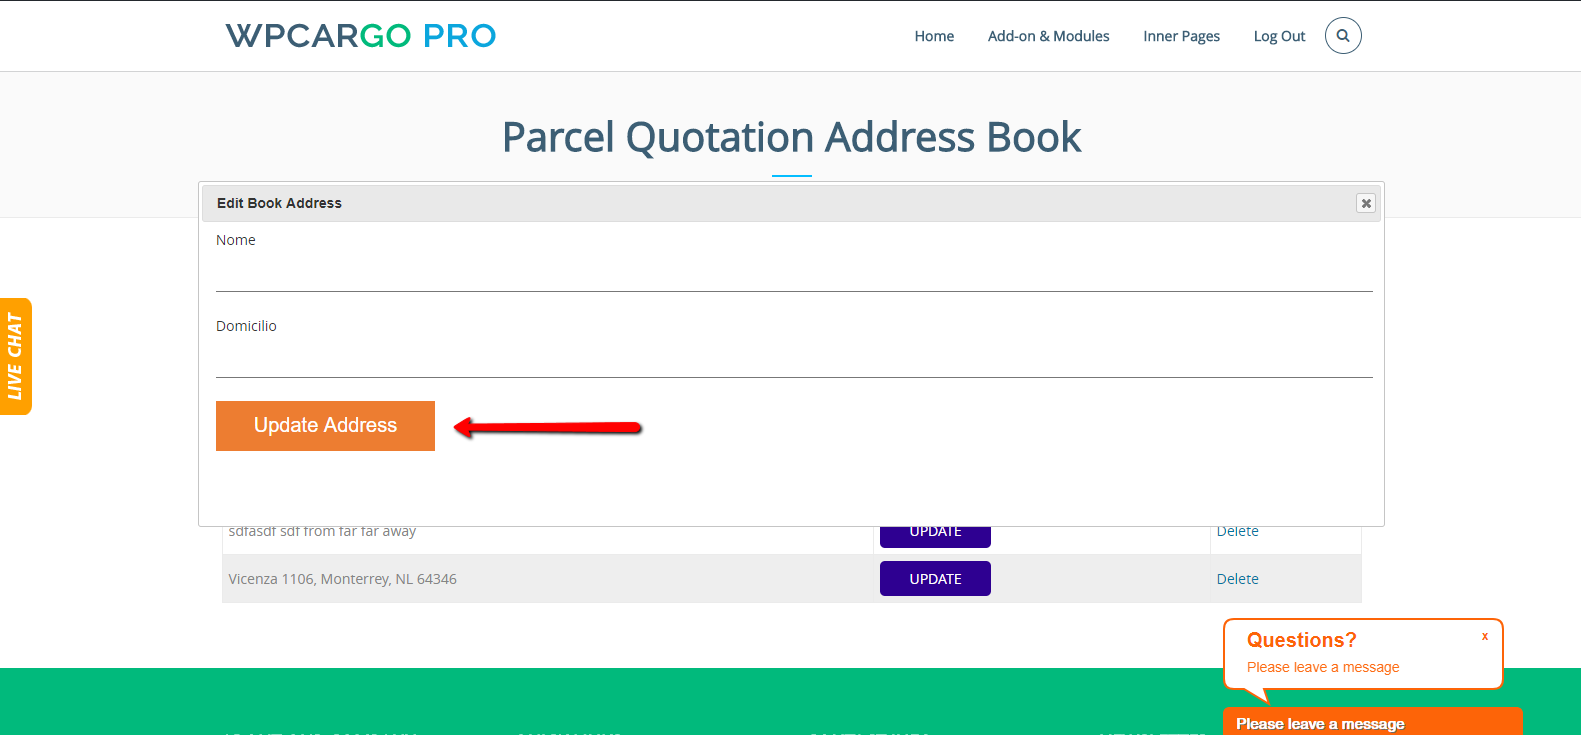
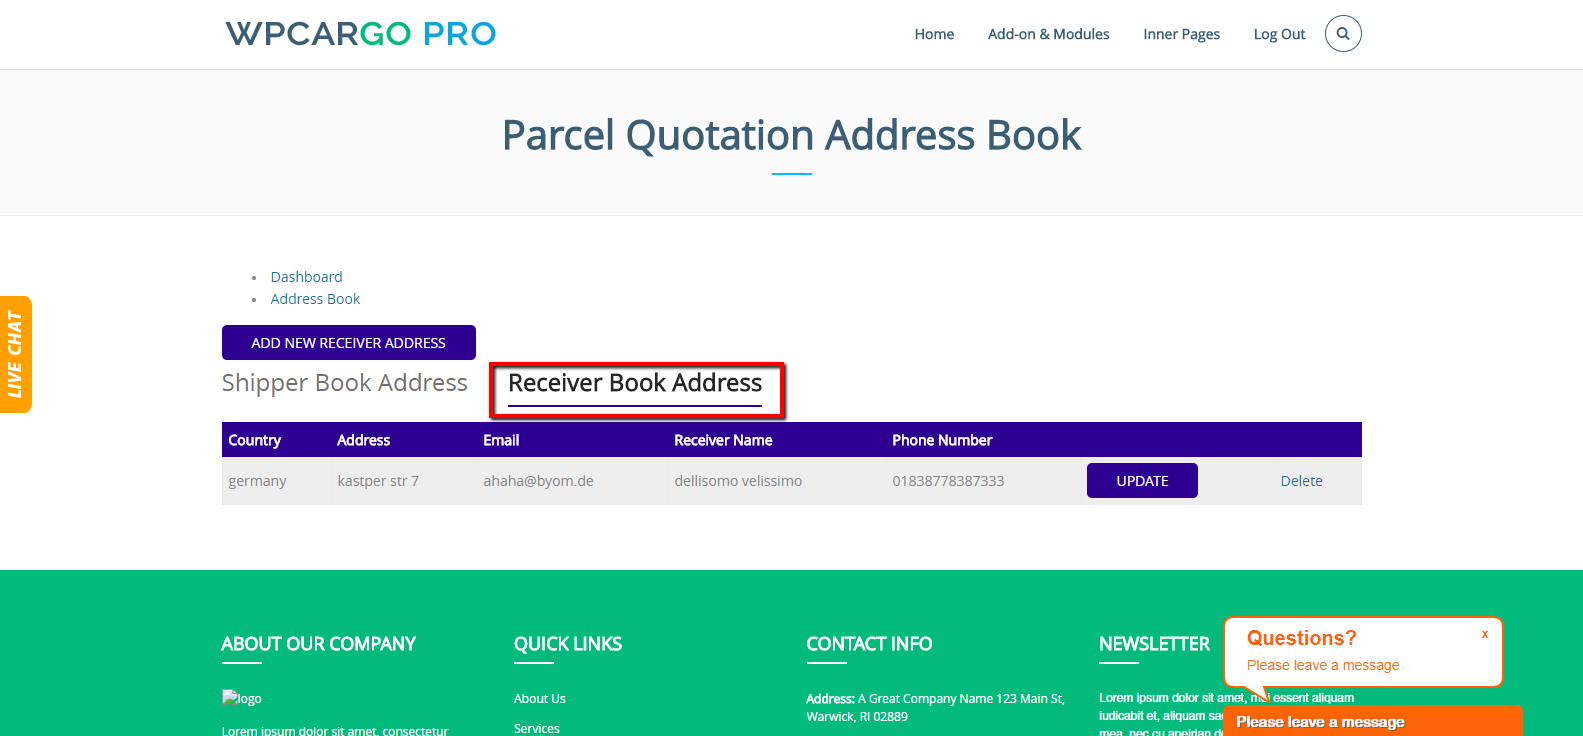
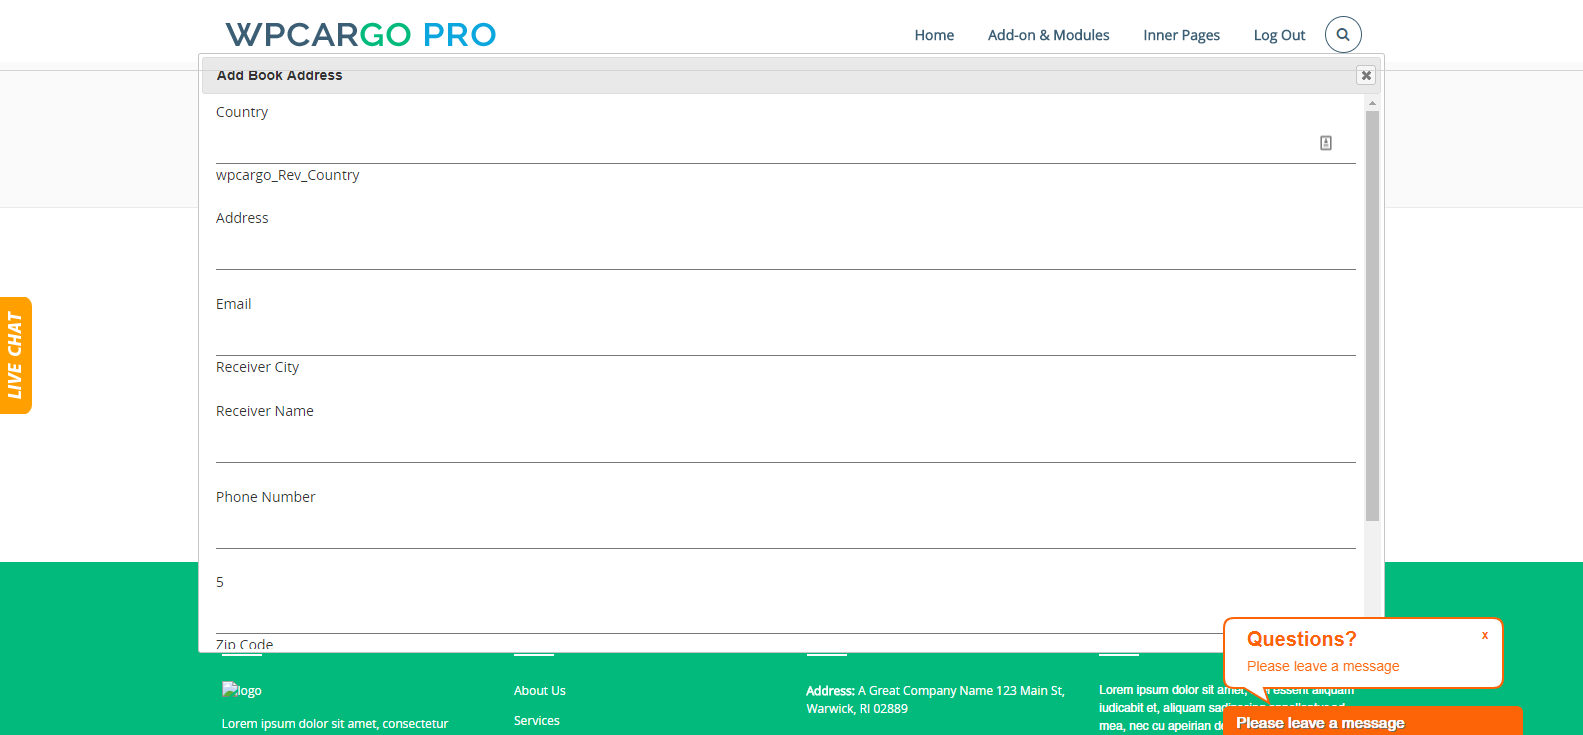
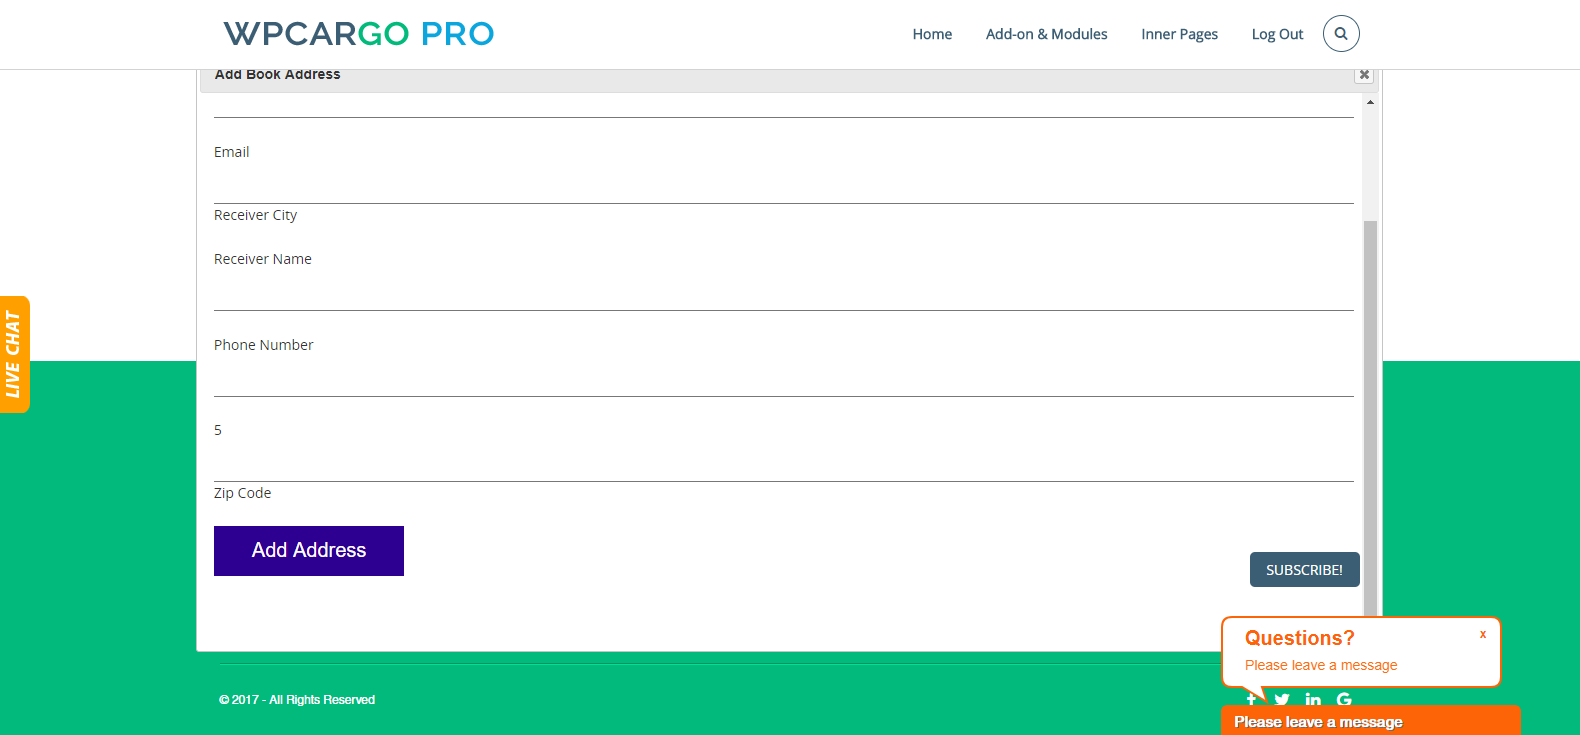
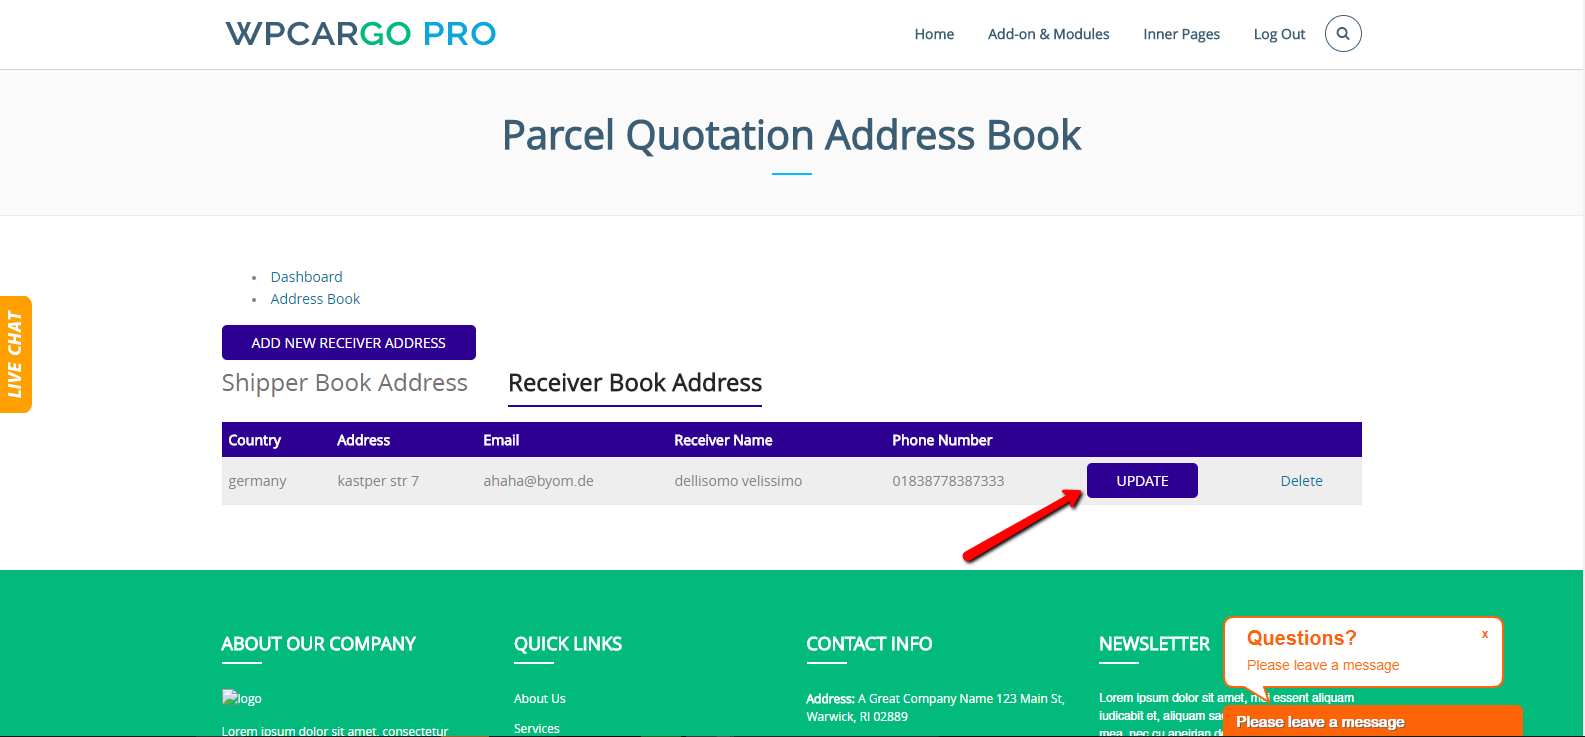
[wpc-pq-book-address]
This plugin shortcode is use for the current user logged in Address book page.
[/vc_column_text][vc_raw_html]JTNDc2NyaXB0JTIwYXN5bmMlMjBzcmMlM0QlMjIlMkYlMkZwYWdlYWQyLmdvb2dsZXN5bmRpY2F0aW9uLmNvbSUyRnBhZ2VhZCUyRmpzJTJGYWRzYnlnb29nbGUuanMlMjIlM0UlM0MlMkZzY3JpcHQlM0UlMEElM0NpbnMlMjBjbGFzcyUzRCUyMmFkc2J5Z29vZ2xlJTIyJTBBJTIwJTIwJTIwJTIwJTIwc3R5bGUlM0QlMjJkaXNwbGF5JTNBYmxvY2slM0IlMjB0ZXh0LWFsaWduJTNBY2VudGVyJTNCJTIyJTBBJTIwJTIwJTIwJTIwJTIwZGF0YS1hZC1sYXlvdXQlM0QlMjJpbi1hcnRpY2xlJTIyJTBBJTIwJTIwJTIwJTIwJTIwZGF0YS1hZC1mb3JtYXQlM0QlMjJmbHVpZCUyMiUwQSUyMCUyMCUyMCUyMCUyMGRhdGEtYWQtY2xpZW50JTNEJTIyY2EtcHViLTA1MDY1Mzg0MjY0NTY4NzclMjIlMEElMjAlMjAlMjAlMjAlMjBkYXRhLWFkLXNsb3QlM0QlMjIxNjk0OTc1MjIyJTIyJTNFJTNDJTJGaW5zJTNFJTBBJTNDc2NyaXB0JTNFJTBBJTIwJTIwJTIwJTIwJTIwJTI4YWRzYnlnb29nbGUlMjAlM0QlMjB3aW5kb3cuYWRzYnlnb29nbGUlMjAlN0MlN0MlMjAlNUIlNUQlMjkucHVzaCUyOCU3QiU3RCUyOSUzQiUwQSUzQyUyRnNjcmlwdCUzRQ==[/vc_raw_html][/vc_column][/vc_row]

 [/vc_column_text][/vc_column][/vc_row]